How to Film, Edit and Upload a YouTube Vlog
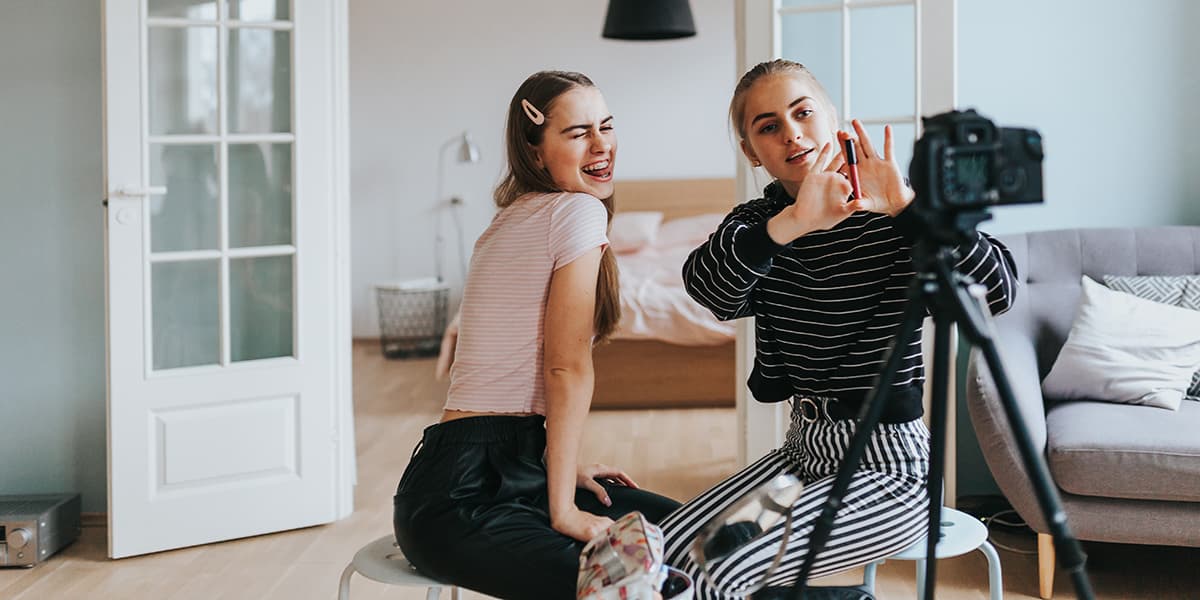
Show off those editing skills.
It kind of feels like everyone is on the internet nowadays, right? Not just Facebook and Instagram, but YouTube as well.
And hey, it looks high-key fun to film, edit and share certain parts of your life with the internet. Plus, if you gain a large enough following online, it can be a really lucrative way to make a bit of money on the side, thanks to social media marketing.
But how do you get started if you’ve never filmed or edited a YouTube video before? Well, it’s actually way easier than you might think, so let’s get break it down.
Filming your vlog.
Unless you plan on shooting a scripted video or short film of any kind, there is very little planning that you need to do beforehand with vlogs.
You will need to make sure you have some equipment though, with the most important item being a camera (duh).
You don’t need a super expensive DSLR to film a YouTube video, your phone will be fine. In fact most smartphones have really high-quality cameras, so you’ll be able to get away with filming on your phone without compromising quality.
When it comes to filming a vlog, it’s pretty simple. Film the most interesting parts of your day, talk to the camera, try to keep the footage steady and smooth and you’ll be sorted.
A few small things to note are that if you’re filming in a private building, it’s always best to ask a manager or owner if you can film beforehand, just to avoid getting told off or kicked out.
You also want to appear as confident and as open as you can on camera—that’s what keeps the content interesting! So, if you’re a little too shy to film in public, just start at home.
Editing your vlog.
Once you’ve filmed everything that you want to include in your vlog, you’ll need to transfer all your footage onto a computer to begin editing.
Before you start the slicing and dicing process, you should make sure that you have a backup of all your footage on a cloud storage or hard drive, just in case your computer decides to cark it.
Next up, you’ll need to decide what editing software you want to use. There are heaps of really high-quality programs out there like Final Cut Pro, or even free apps like iMovie on Apple Macs. For this breakdown, we’re going to stick to Adobe Premiere Pro because it’s one of the most common and one of the best apps out there.
One thing to note with most programs, including Premiere Pro, is that they usually aren’t free. Premiere comes as part of a paid subscription, either on its own or with Adobe Creative Cloud. Fortunately, if you're a student your school may give you access to these programs for free—depending on your feild of study of course.
You can also get Adobe Creative Cloud 70 per cent off with your Student Edge membership, so jump on it while you can.
Now you can get started!
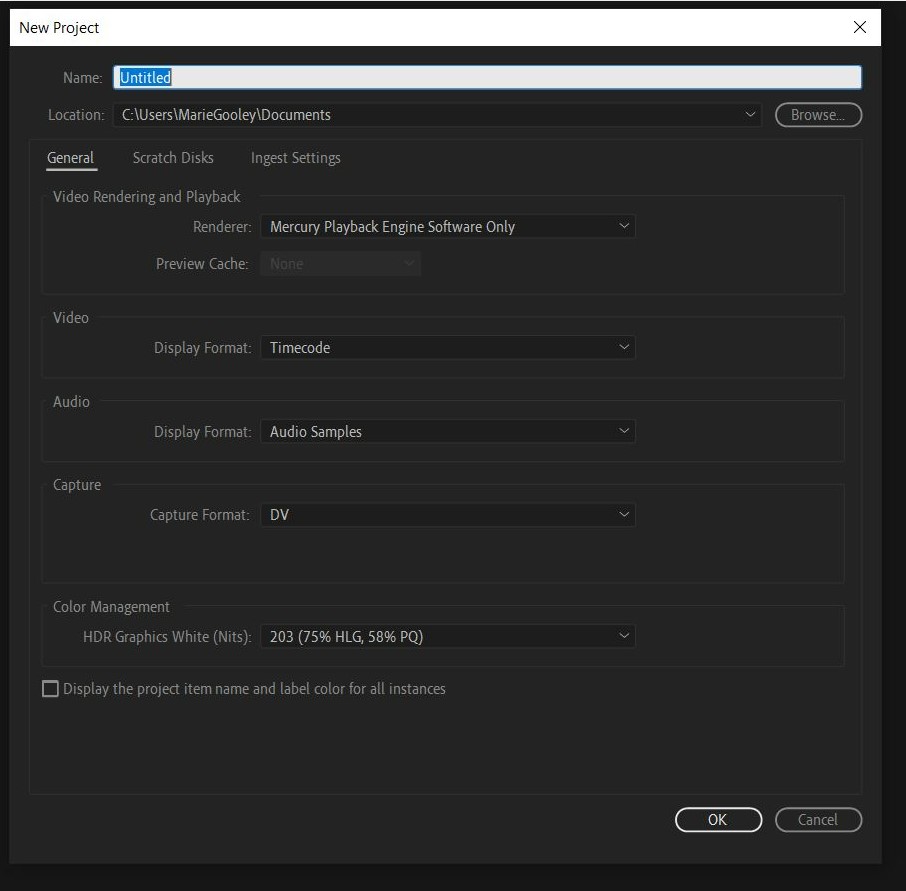
When you open up Adobe Premiere, you will be prompted to give your new project a name. Give it a title and click ‘Ok’ (you don’t need to worry about all the other settings just yet).
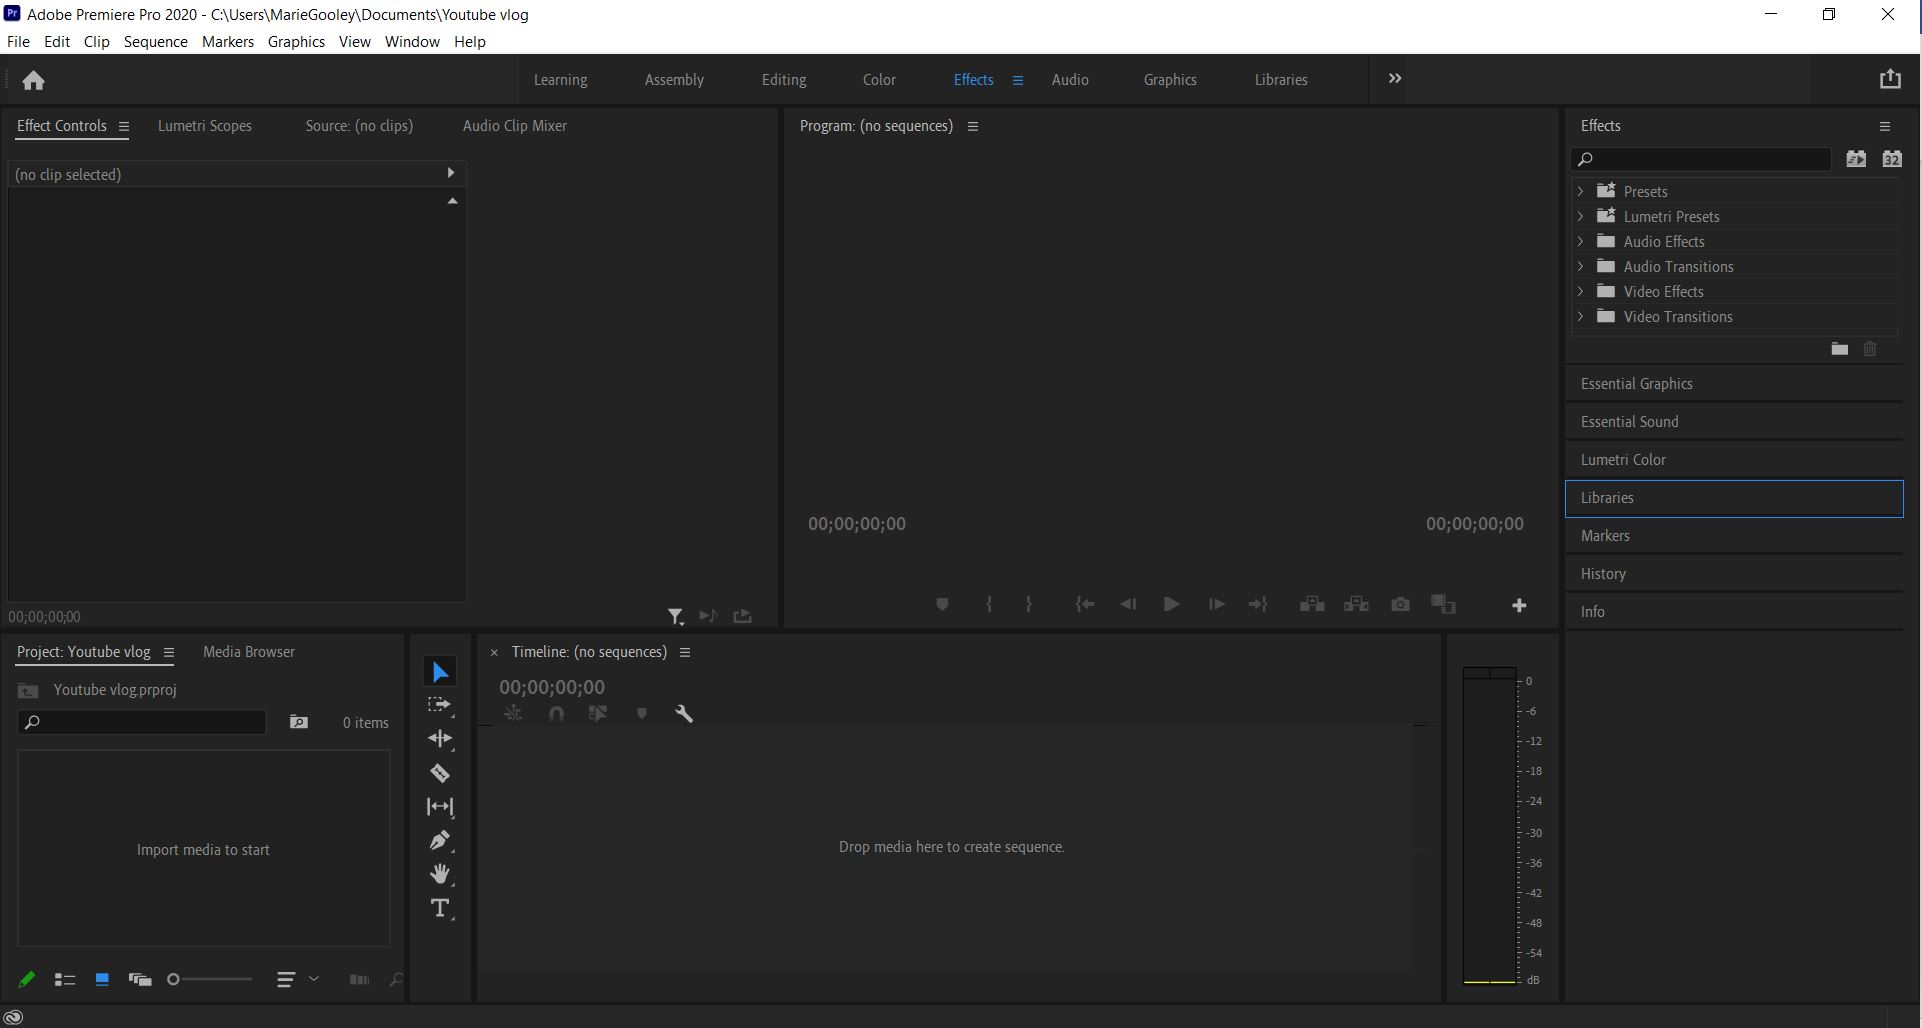
The application will then open with a bunch of empty windows. To start your project, you will need to import all your footage.
On the bottom right corner there will be a window that says, ‘Import media to start’. This is where all your footage will go. Either drag and drop it or click the window to open your files.
In this media browser you can also create ‘bins’ to organise and separate your footage. Just right click on your mouse and click ‘New bin’ to create and name one. These work just like folders on your computer.
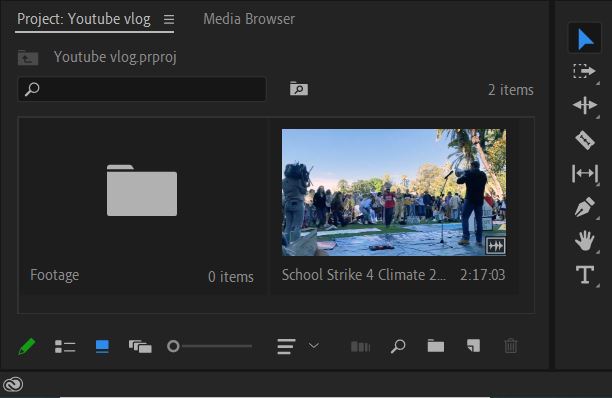
Once all your footage is imported, you can start choosing which shots you want to use. Either drag each clip into the ‘sequence’ (the window on the bottom right) or click on each shot in your imported window and mark out sections of the clip you want to include from the window above it.
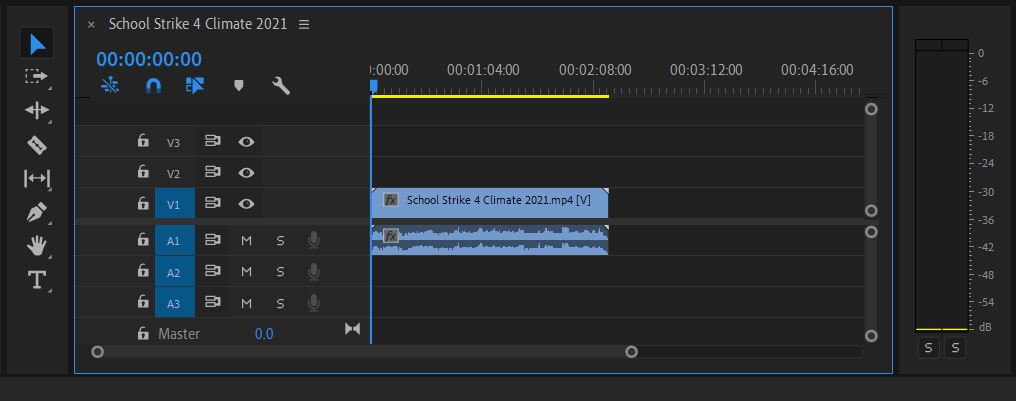
Now that you’ve got all the shots you want to use in the sequence, you can further reorder, chop, shorten or lengthen the clips from the ‘Sequence’ window.
Use the Razor Tool (‘c’ on the keyboard) to chop up clips, use the Selection Tool (‘v’ on the keyboard) to select clips, and click and drag to move clips around.
You can also click and pull or push on each end of clips to lengthen or shorten them.
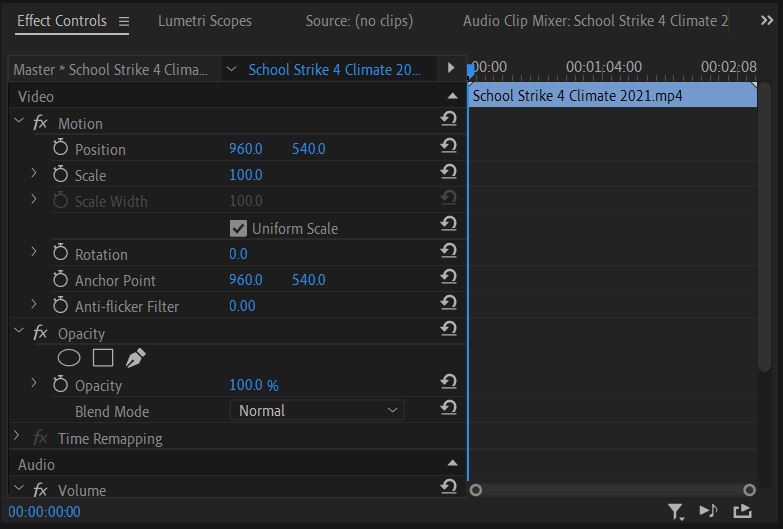
If you want to add ‘Ken Burns’ or zoom on particular clips, head to the top left window and click ‘Effect controls’ and make sure your clip is selected in the sequence. From here you can adjust the position, scale, rotation, opacity and way more.
To adjust your sound, you can either move the level of the line in the audio clip in your sequence or adjust from the audio tab at the top of the screen.
To add titles, graphics, or credits, also head to the top of the screen and click ‘Graphics'. Another window will appear on the right-hand side of the screen, from which you can choose text and title templates.
Finally, if you want to add transitions or effects, head to the top of the screen and click the ‘Effects’ tab. The right-side window will also appear with drop down boxes of visual, audio and lumetri effects, transitions and presets.

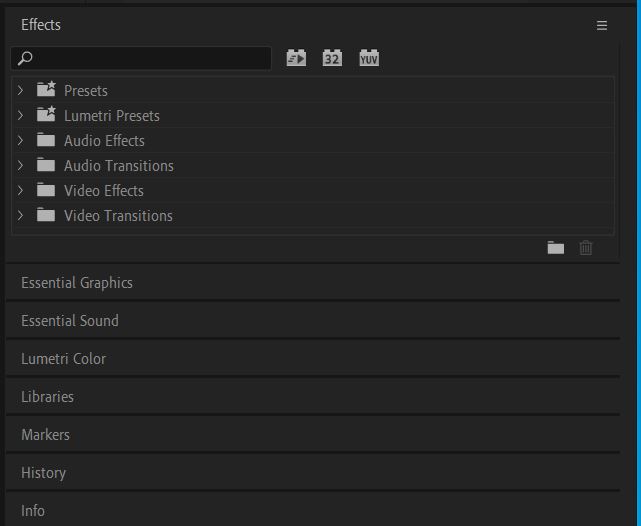
It might take you a little while to figure out exactly how to use each tab and what each effect, transition or graphic is/does, but with some trial and error and a few YouTube tutorials, you should be able to figure most of them out real quick.
Choosing your style, theme and music.
While chopping clips together seems pretty easy, the way in which you order them, and the music you use will determine the theme and style of your video.
If you’re going for more of a montage piece, add lots of short clips together to the exact length of music. But if you’re going for more of a story video, then you’ll need to include certain ‘chapters’ or points where the footage slows to include talking to the camera or parts without loud music overtop.
These choices will also determine how serious or funny your video comes across. We all know YouTubers like Emma Chamberlain loves to use zoom effects and ‘Ken Burns’ to add a comedic effect, and this might be a vibe you want to replicate.
Your music will also play a huge role in the feel and mood of your video. Be sure to choose something appropriate and long enough to suit whichever style you're going for.
One really important thing to keep in mind when it comes to music is that it could be copyrighted. You can't use any song simply because it's available online.
Most music is protected under copyright law, so if you want a song on your YouTube vid you’ll have to find some music that is ‘royalty free,’ otherwise your video could be taken down, demonetised or the audio could be removed.
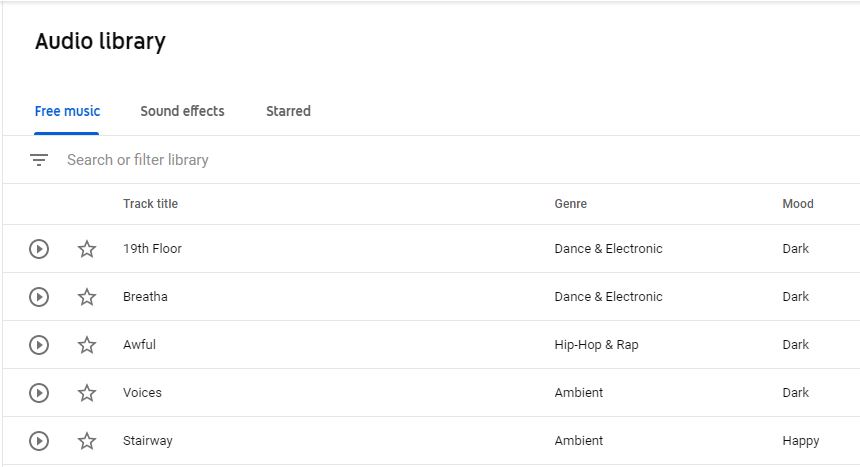
The YouTube music library has heaps of great free options or you can sign up to a subscription service that contains massive libraries of royalty free music to use.
Uploading to YouTube.
Now comes the best bit: uploading it to YouTube.
Once you’ve put in all the hard work into filming and editing, you’ll need to export your video.
To do this on Adobe Premiere, head to ‘File’ > ‘Export’ > ‘Media’ and a box will pop up.
From here you’ll want to change the ‘Format’ of your video to ‘H.264’ so that it looks its best on YouTube, and change the ‘Output Name’ to your video title.
Then just click ‘Export'.
The exporting process might take a while but just be patient. Once it’s done you can head to YouTube and click ‘Create’ then ‘Upload video’ in the top right-hand corner of your browser (it looks like a little camera).
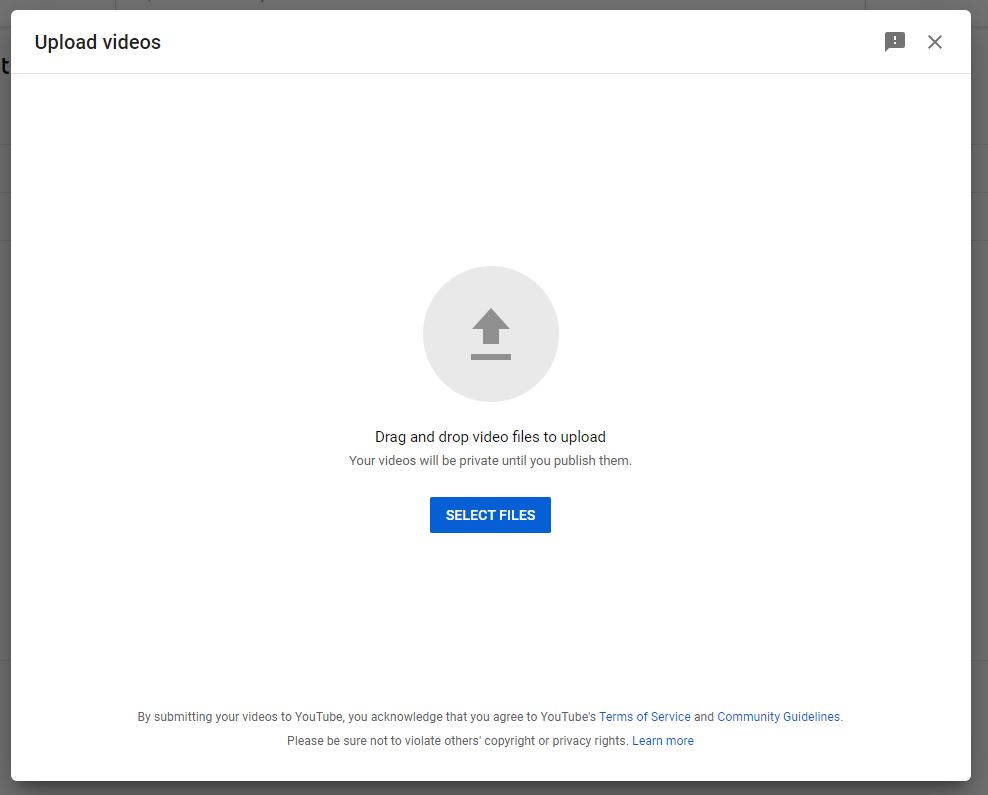
From here, either select your file from the browser or drag and drop it and wait for it to upload.
Once uploaded, all you need to do is give your video a name, description and thumbnail.
From here you can decide if your video is meant for kids or not. You can also choose whether you want to monestise it and add subtitles (which we definitely recommend for accessibility purposes). Then when you’re ready you can hit publish and it’s good to go!
Now that you’ve got all the details, it’s time to go and become a vlogger.
Header Image: visualspace via Getty Images
Topics
Ref: 01a3fbb1-6725-44de-b55f-ad36006fe29a




Comments & Feedback
Share your opinion
Emoji cheatsheet Formatting Comment guidelines