How to Film, Edit and Upload a TikTok
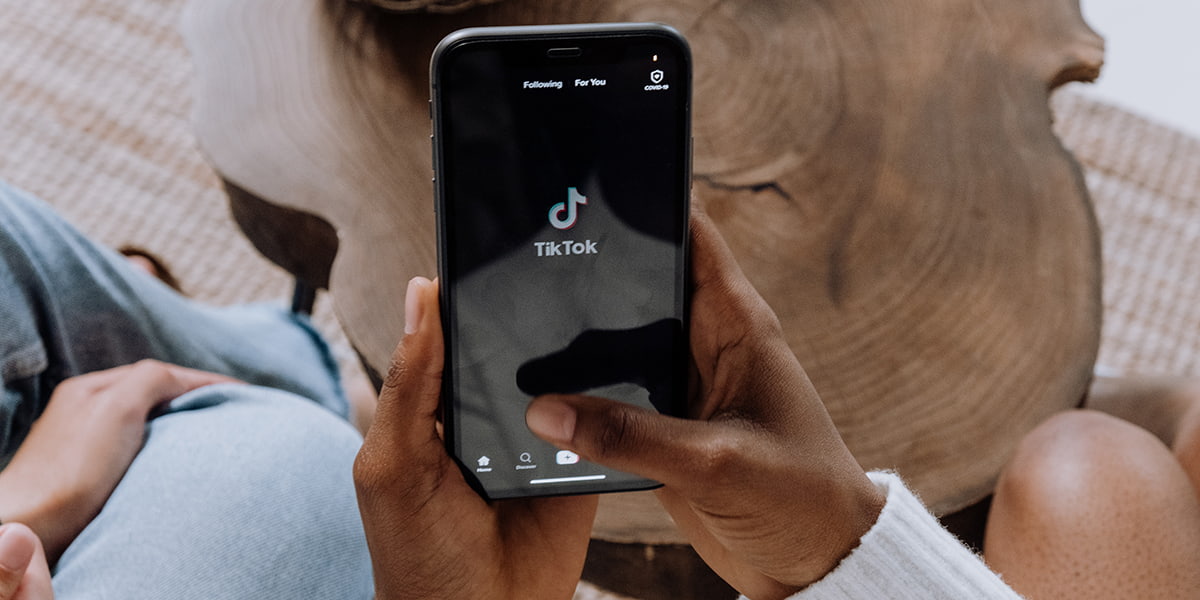
Smash those trends.
So, you wanna become a viral superstar? Or at least just learn how to make, edit, and post a TikTok to the world’s most downloaded app? We’ve got your back.
If social media, filming and editing, or trends aren’t your biggest talents, it can be hard keeping up with the fun stuff your peers are doing online. So, here’s our step-by-step guide on how to edit a TikTok and start creating content.

Filming on the app.
If you want to shoot all your content in the TikTok app and don’t need to add any graphics, images or fancy editing that would require an outsourced editing app, there are a few simple steps you can take.
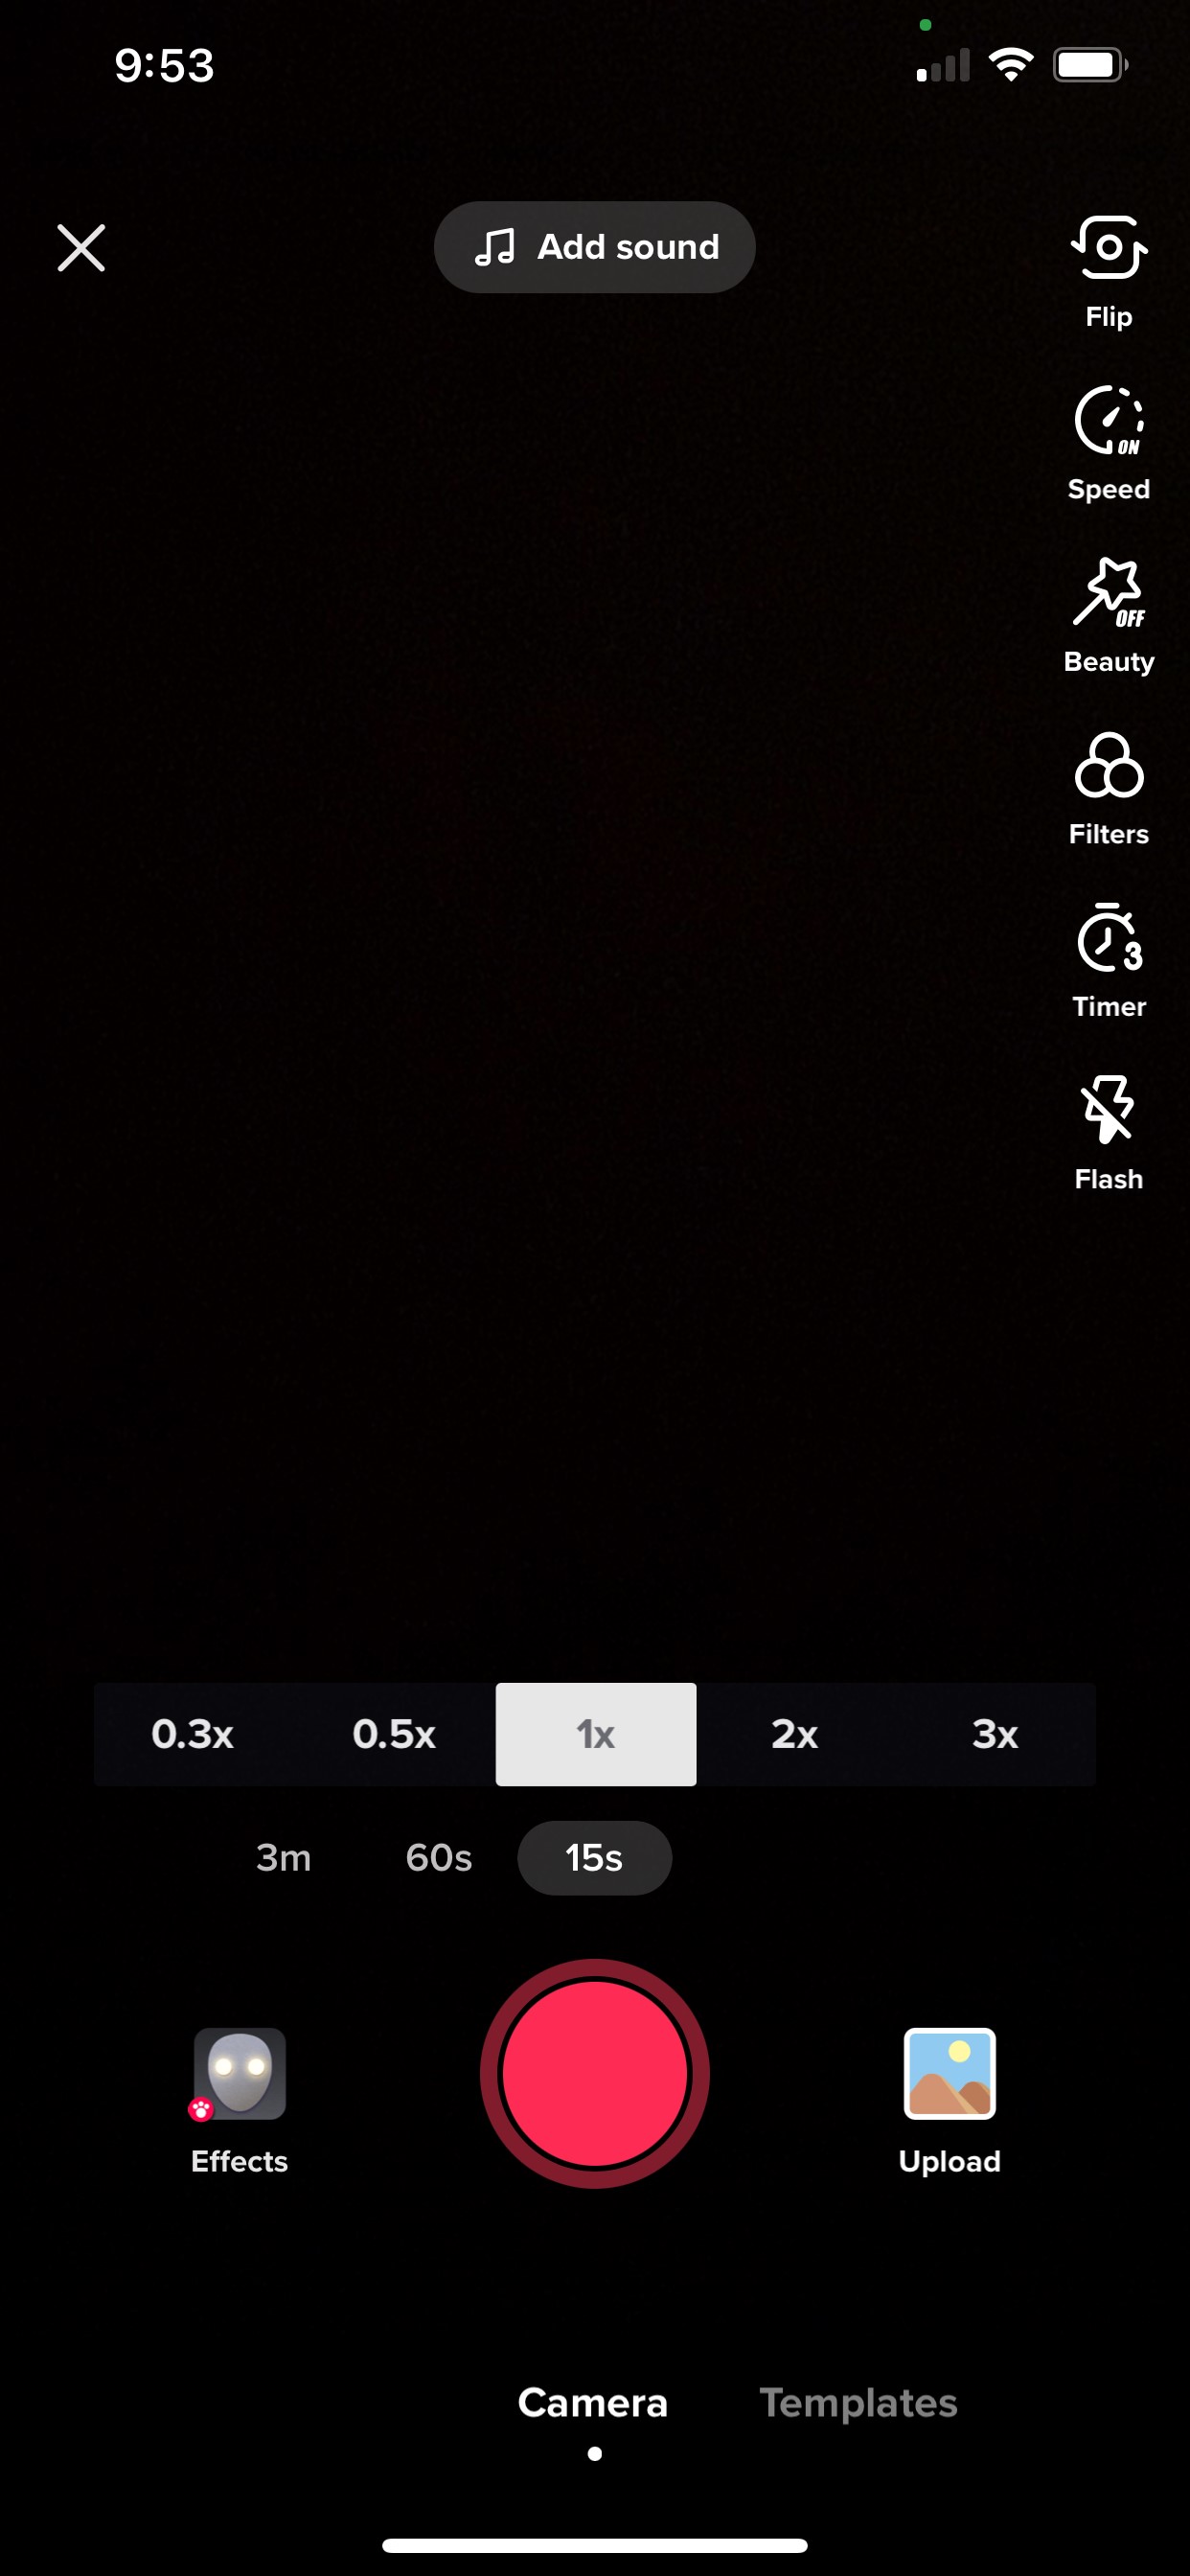
First of all, when you click on the ‘+’ button at the centre bottom of the screen, a recording screen will pop up and allow you to start shooting.
From here, you can press the big red button to film for a full 15 seconds, 60 seconds or 3 minutes (depending on which option you select).
You can either choose to hold the red button down to shoot for your preferred time length or press it once for the app to shoot continuously.
 (Image: Supplied)
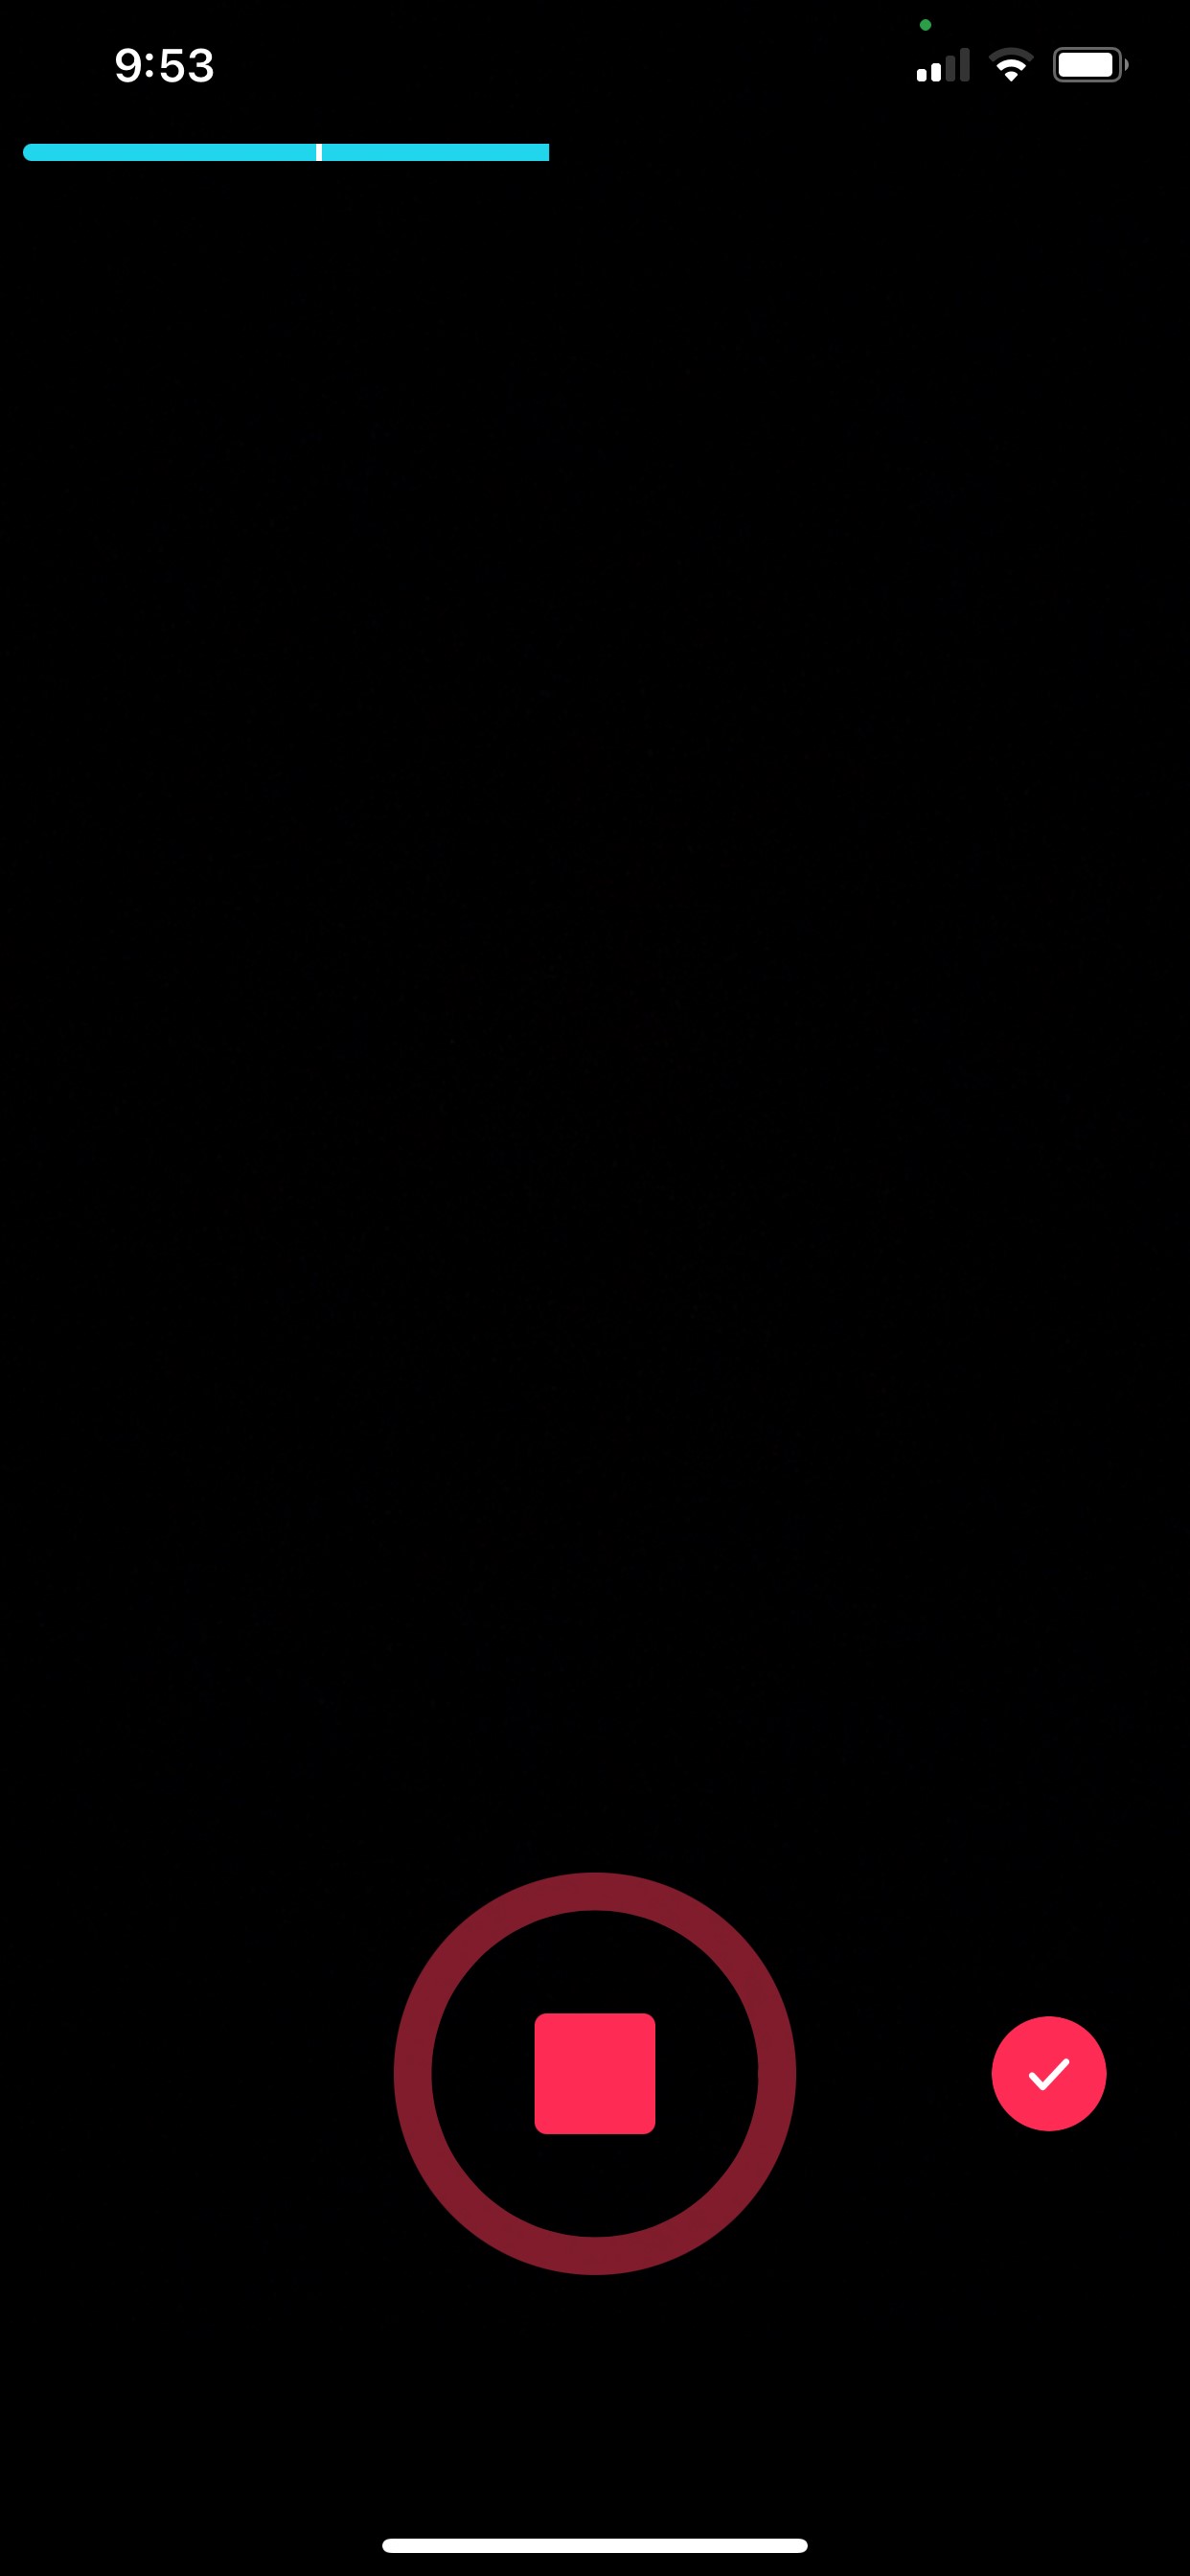
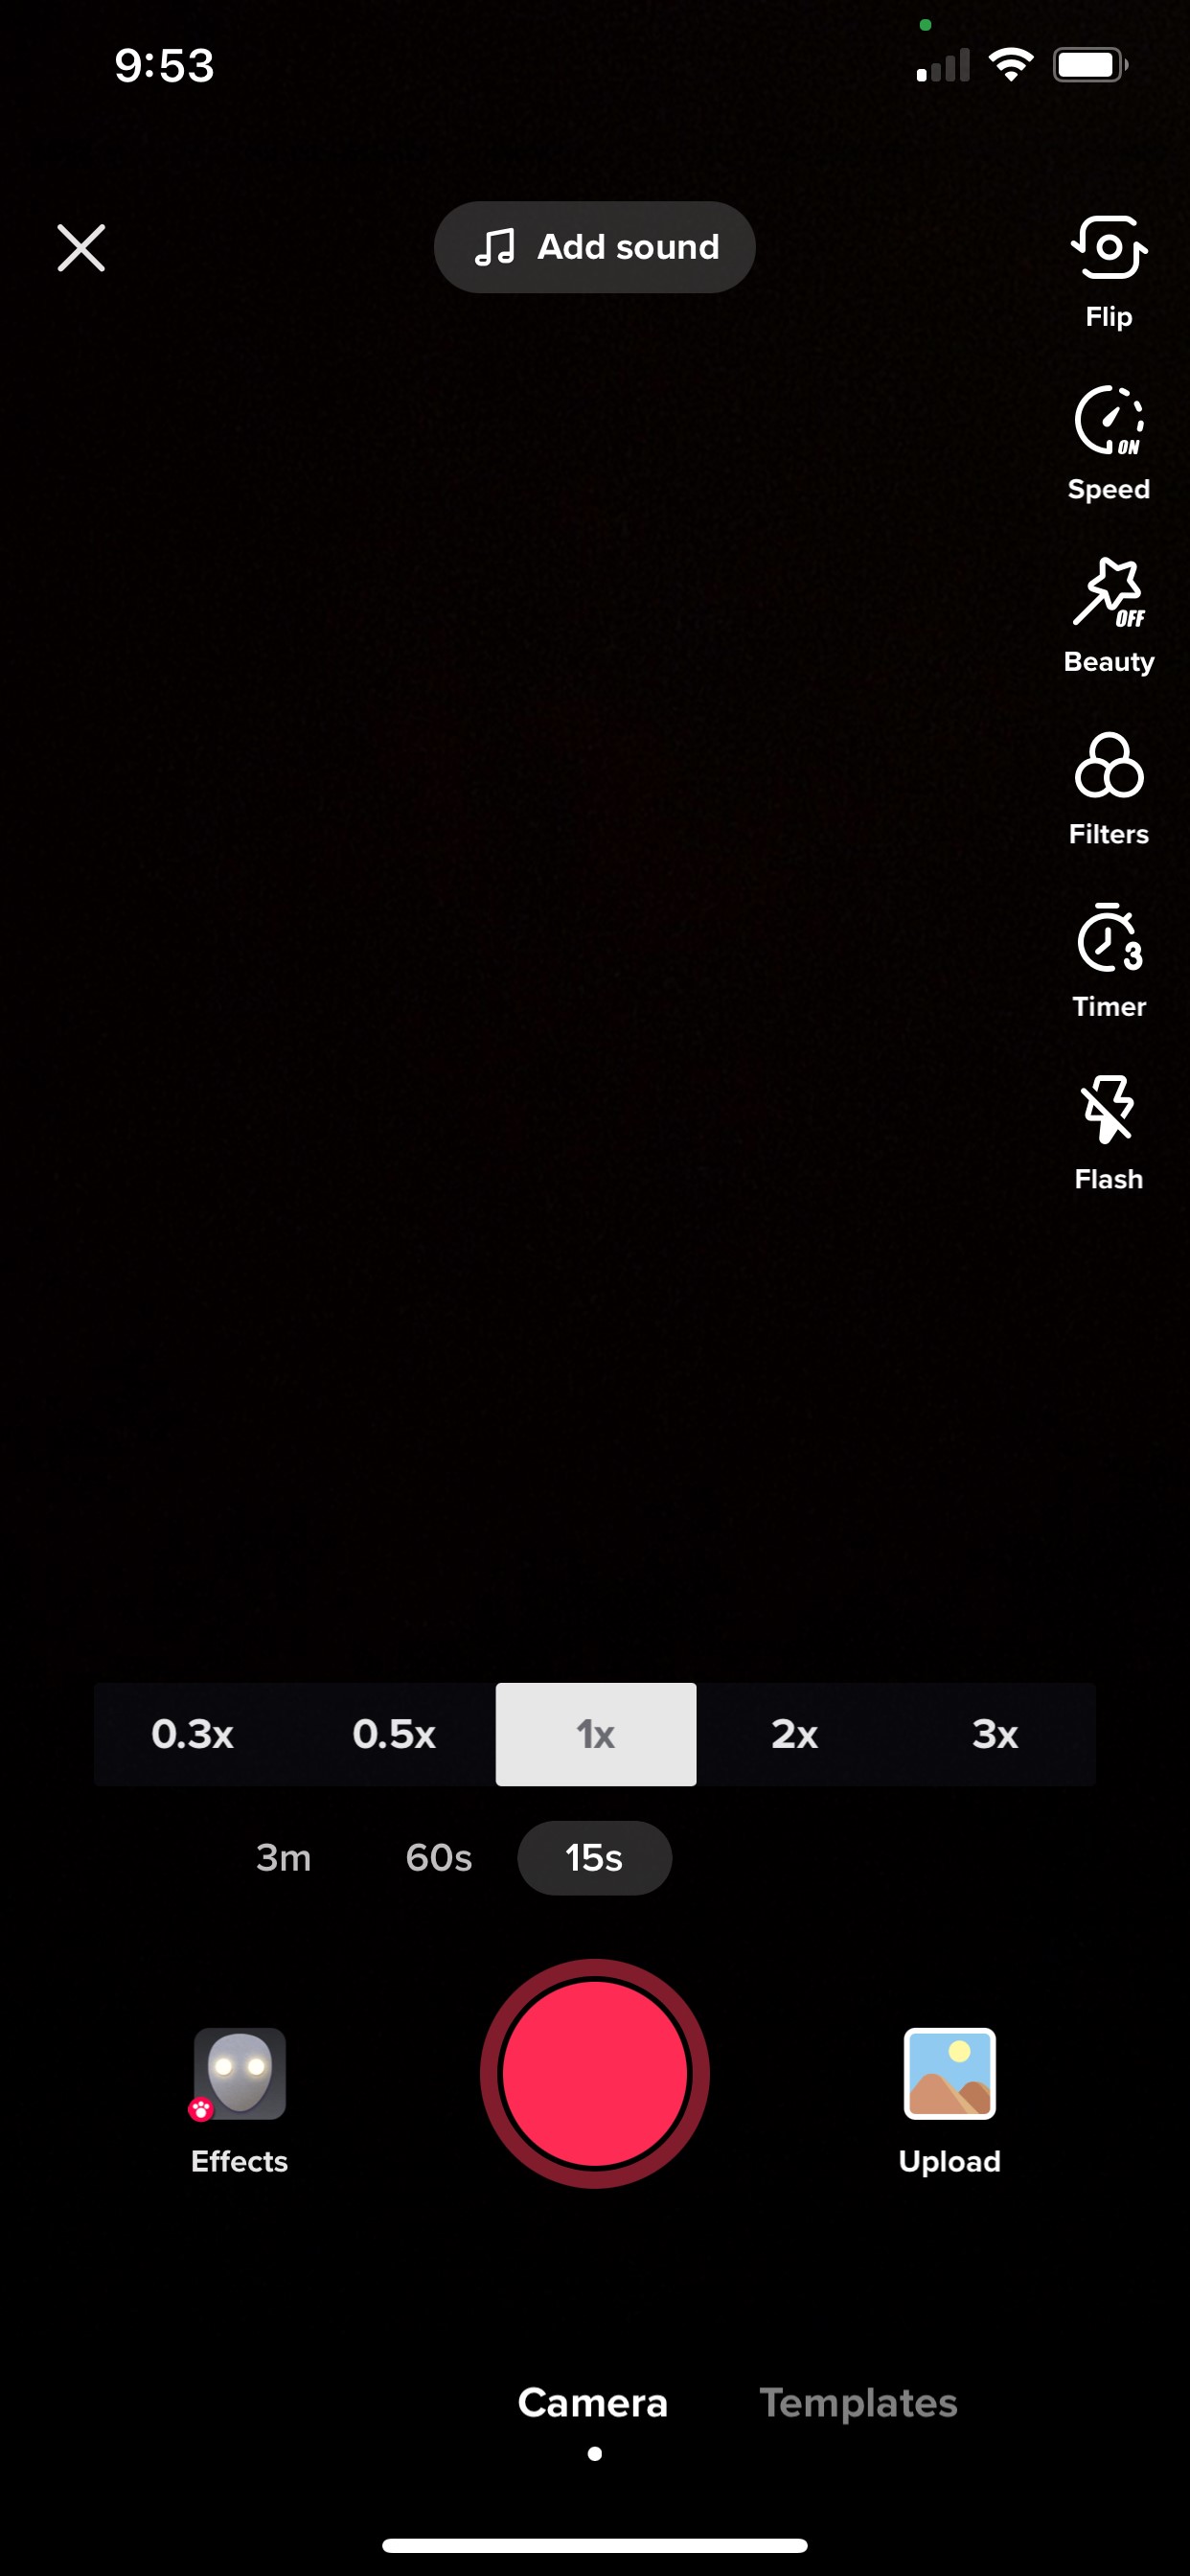
When you shoot a few seconds of a clip, you will notice that at the top of the screen a thin blue progress bar will start to fill. This represents how much footage you have filmed.
So, if you want to film from one particular angle to start with and then focus on another in the next shot without capturing all the awkwardness of moving your camera or position, all you have to do is shoot what you need, stop filming, move to your next scene and then shoot again.
It’s like editing within the app beforehand and only filming exactly what you need, rather than filming a lot more and editing afterwards.
If you’re not happy with a particular shot right after you have filmed it, press the small white backspace button with an ‘x’ in it to the bottom right of the screen. This will remove it and allow you to shoot again.
If you want to shoot without capturing you pressing record and stepping back from the camera, all you need to do is select the timer button, which looks like a stopwatch with the number ‘3’ next to it.
 (Image: Supplied)
When you press this button, a small timeline will pop up. Here you can choose what time point (or part of a sound/song) that you wish to start recording, as well as when you want to stop recording, without having to press the red button again.
Once you have set these parameters, just shoot and review.
If you want to add effects, change the speed, flip the camera, add a beauty filter, turn on the flash or try a fun filter, there are a series of buttons to the right of screen and an ‘Effects’ button to the bottom left, so just click those and follow the prompts if you want to use them.
You can also adjust these clips again afterwards by tapping on the red tick button, then the ‘Adjust clips’ button, which looks like a clip with a play symbol inside.
Once you are happy with your recording, press the red tick button and add popular sounds or songs by clicking the ‘Add sound’ button at the top of the screen. You can also add voiceover, filters, voice effects, captions, effects, text and/or stickers by choosing any of the available buttons on the screen—just follow the prompts.
Once you have filmed and adjusted everything how you like it, press the red ‘Next’ button to the bottom right of the screen to add your caption, hashtags, other creators @’s, adjust interaction permissions and select the TikTok cover.
From here you can either save the video as a draft or publish the video!
 (Image: Supplied)
Filming off the app.
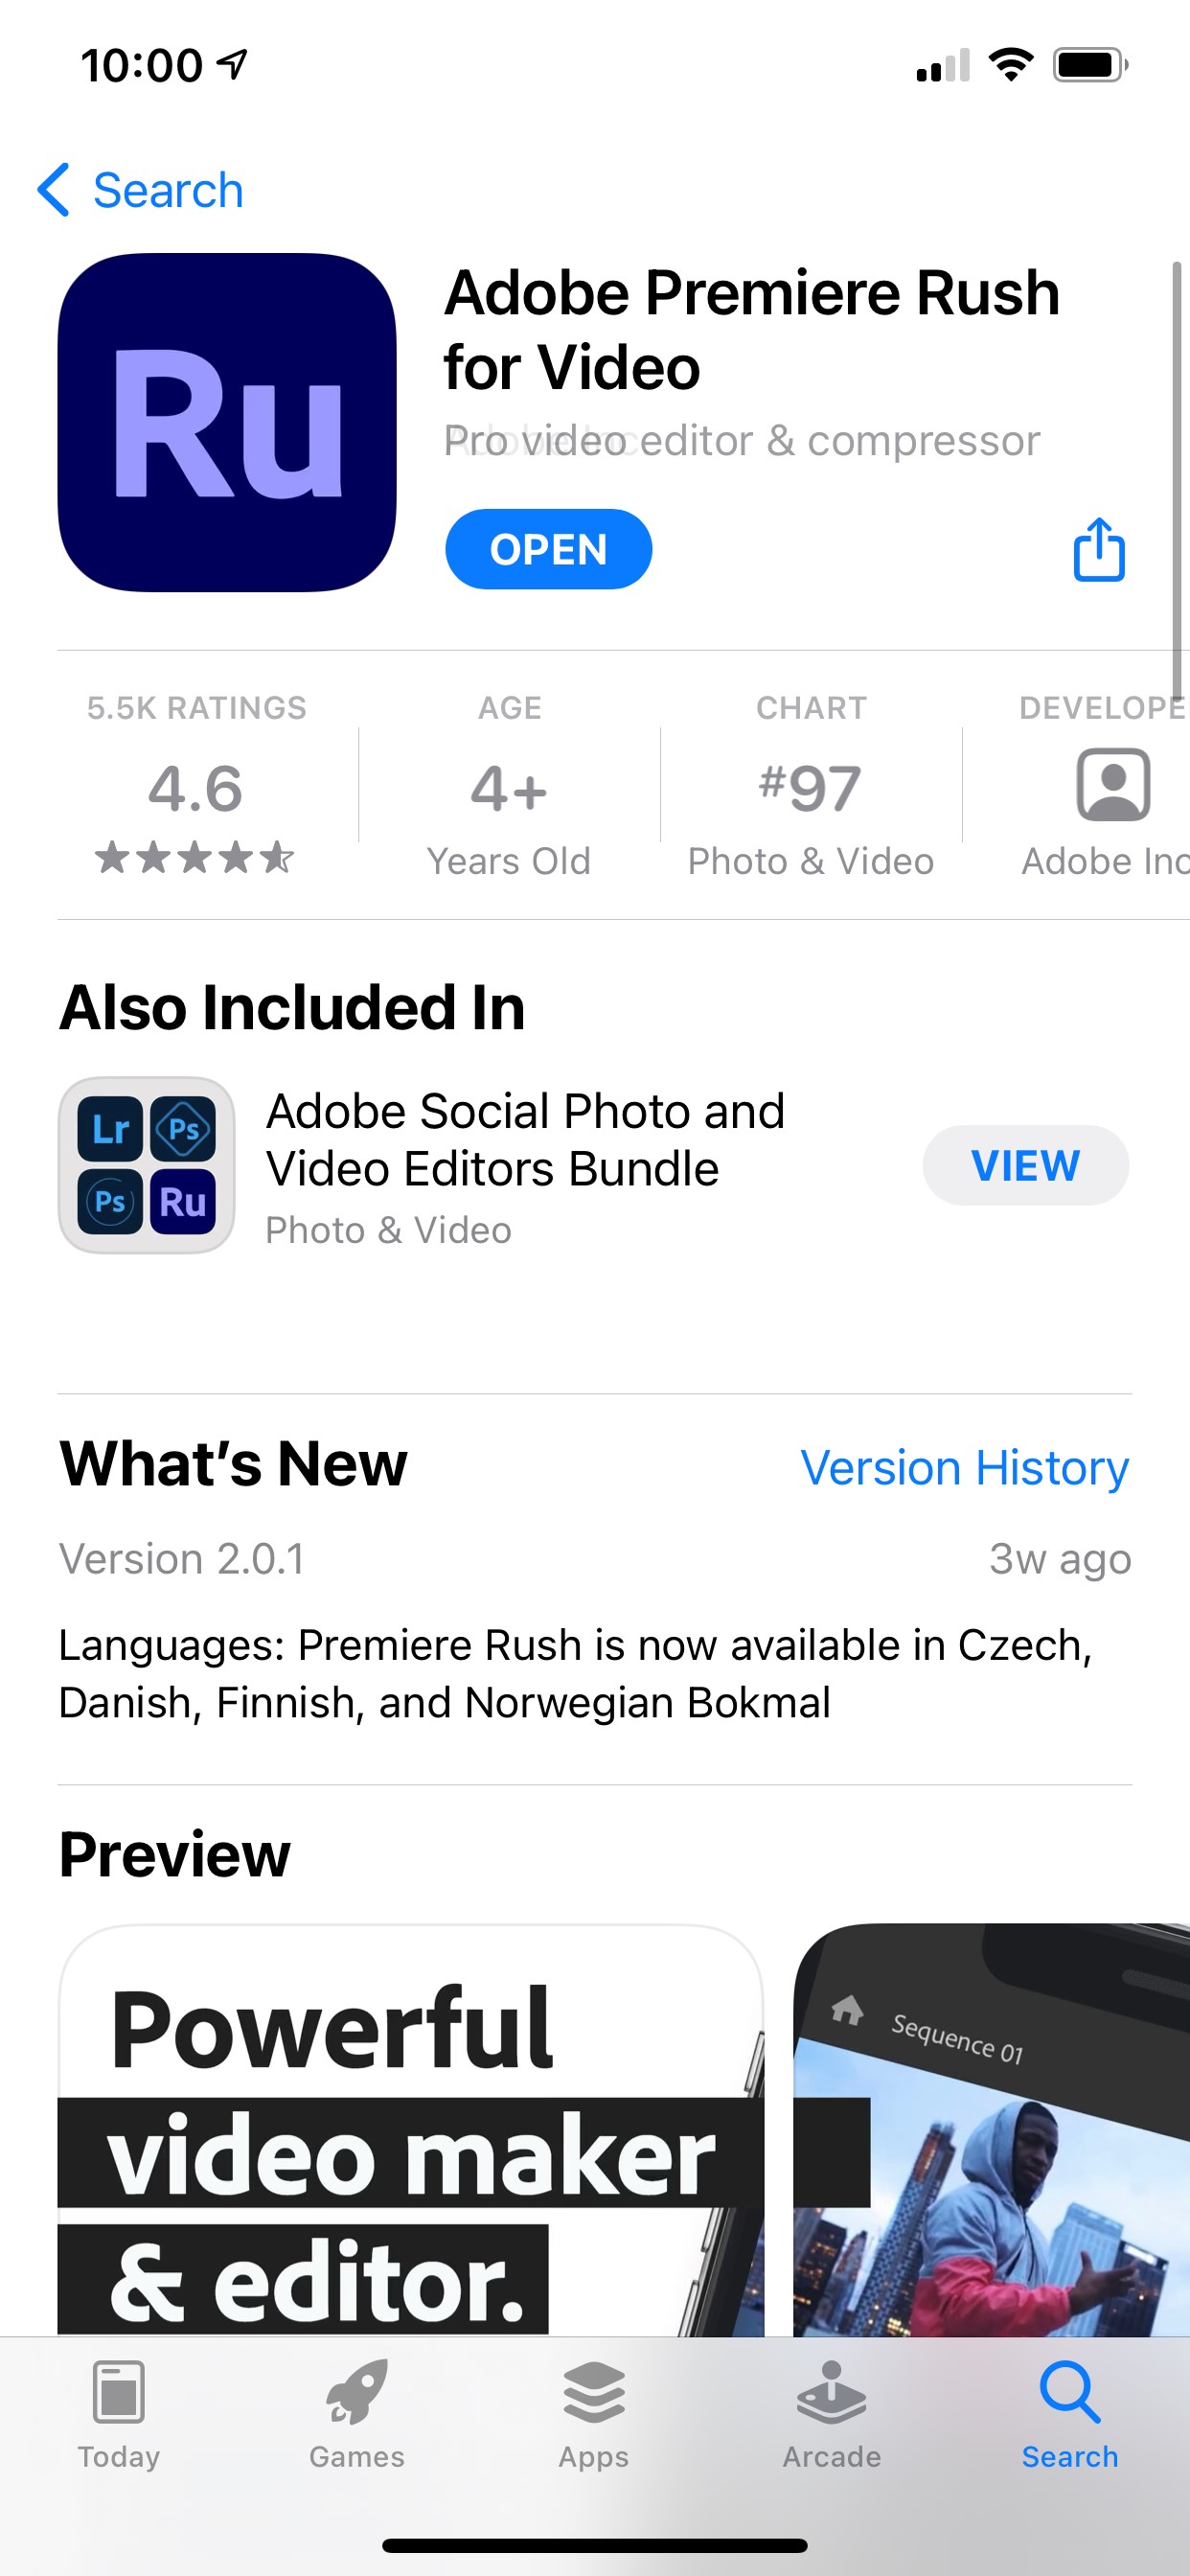
If you want to add a few more complex edits, or aren’t a fan of the TikTok editing interface, you can choose to edit your videos on an alternative app and upload them.
The exact app or editing software that you choose is totally up to you, so we can’t give specific instructions on how to use each one, but we prefer to use Adobe Rush on smartphones and Adobe Premiere Pro on computers. You can check out Adobe's guide to making a TikTok video on their program here!
Just choose an app that you like to use or makes sense to you—it may take a little while to learn it 100 per cent, but once you’ve got the hang of it, you’ll be a pro.
 (Image: Supplied)
All you need to do is shoot all the content you want, edit it in your preferred editing app, then head to the TikTok app, press the ‘+’ and then the ‘Upload’ button to the bottom right of the filming screen.
From here you can select your already edited video, press the red ‘Next’ button, and then trim the clip even further if you prefer.
Press the red ‘Next’ button in the top right corner once you are happy and then from here you can add sounds, songs, a voiceover, filters, voice effects, captions, effects, text and/or stickers by choosing any of the available buttons on the screen—just like when filming and editing a video completely in the TikTok app.
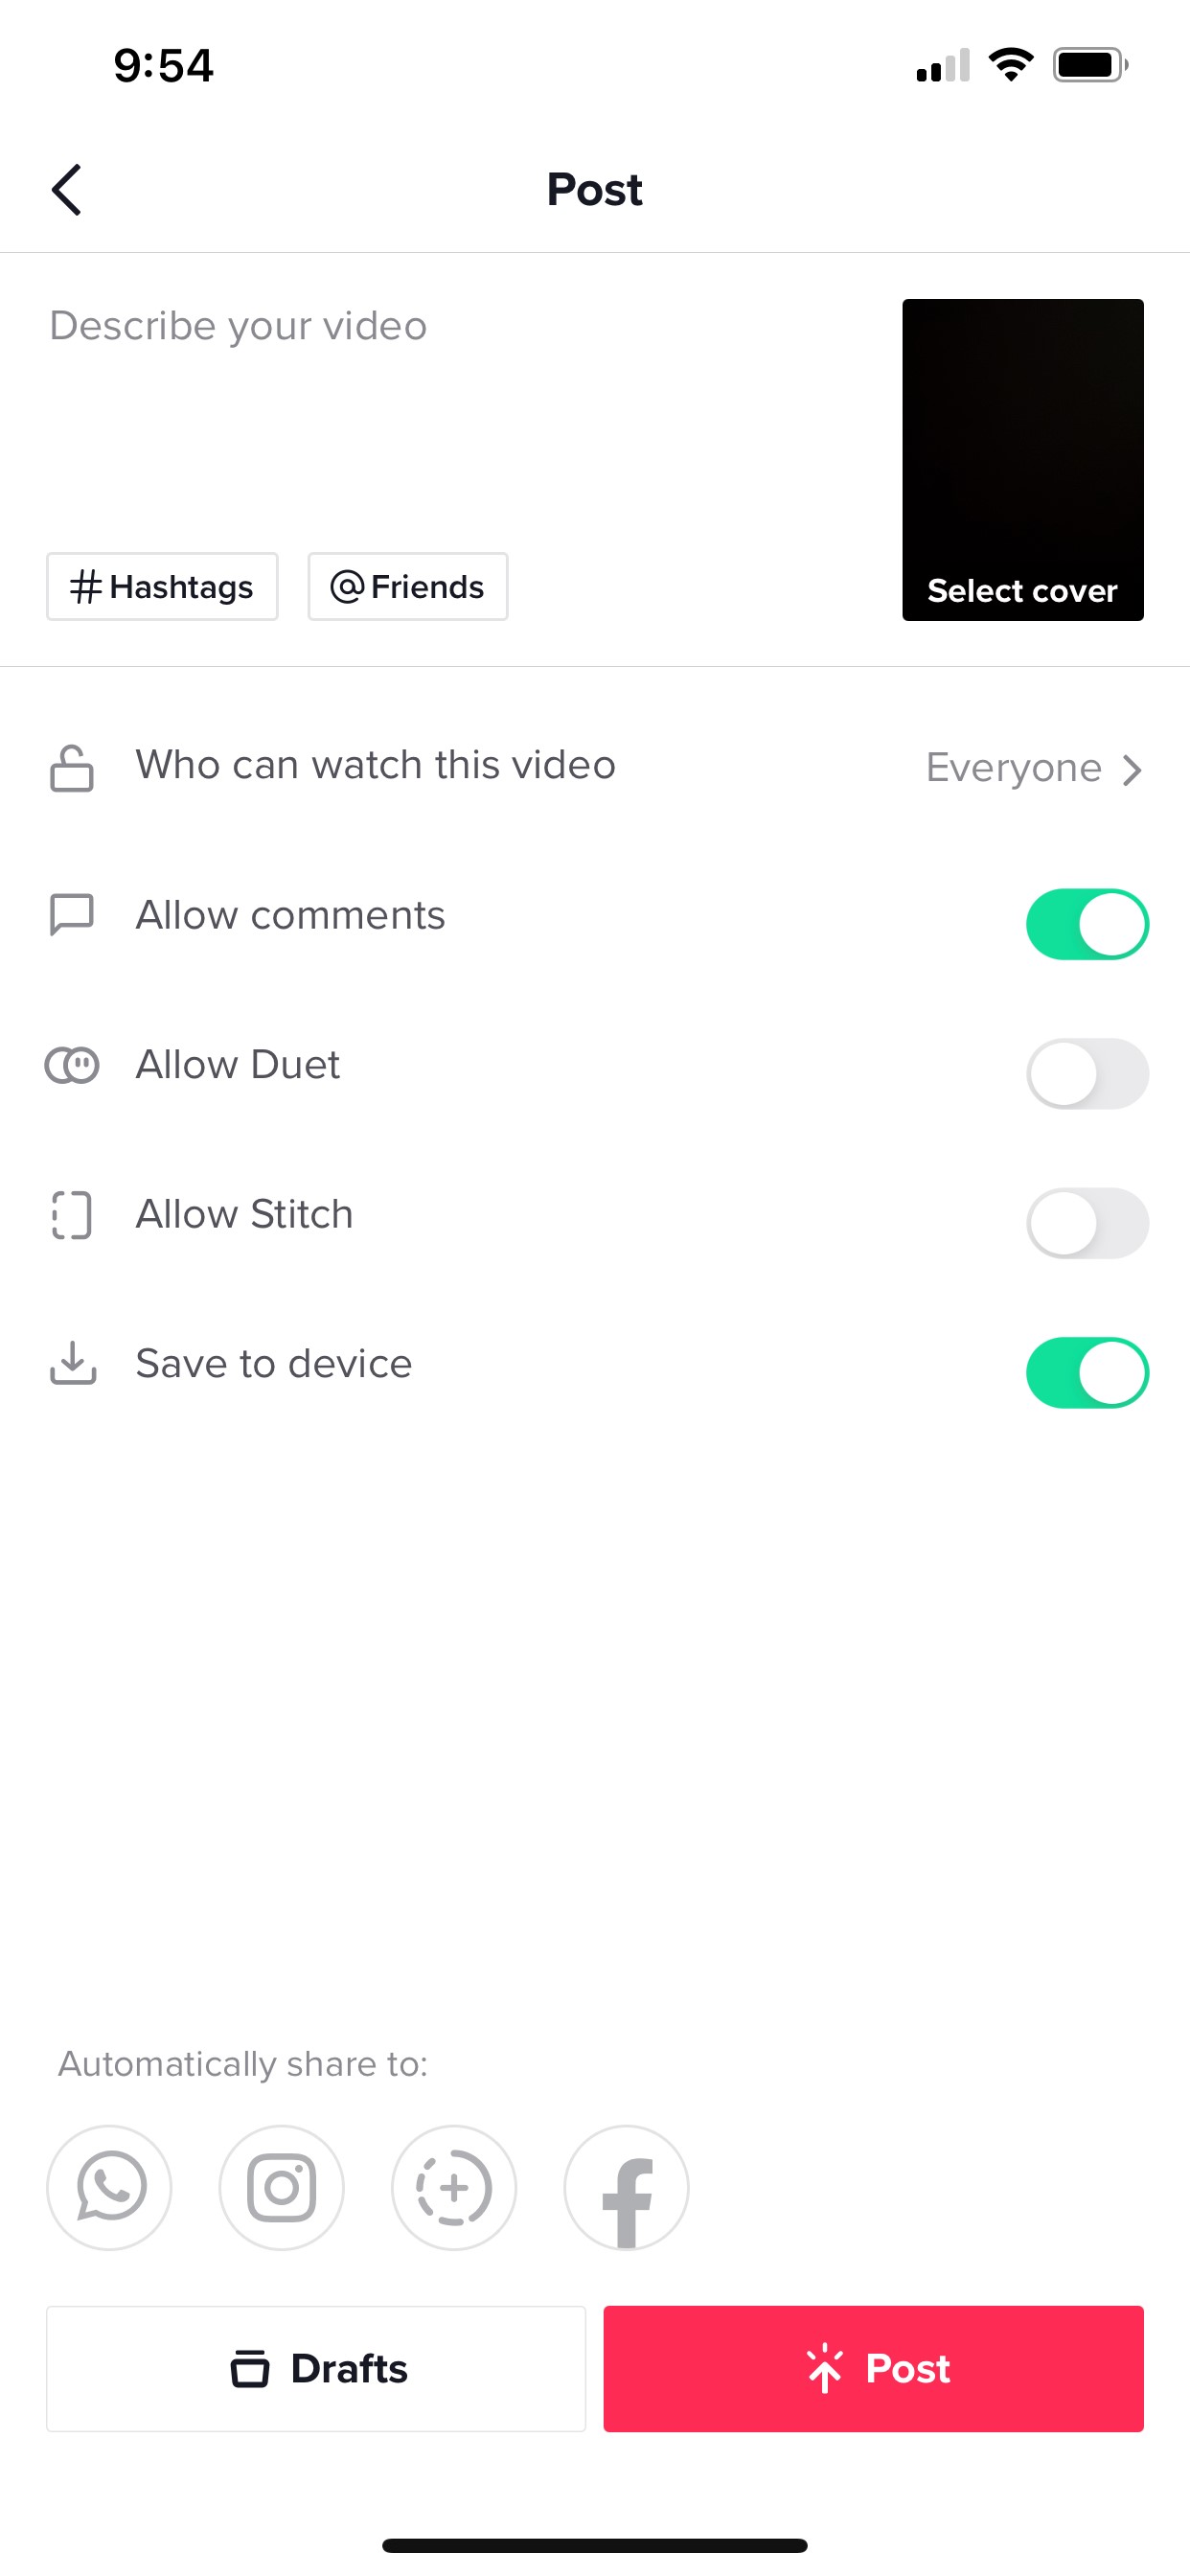
Once you’re happy, just press the red ‘Next’ button to the bottom left and add captions, select the TikTok cover and adjust interaction as usual. It’s that simple.
Now just publish the video or save it to your drafts.
 (Image: Supplied)
It might take a little while to learn how to use these apps or get used to shooting and editing altogether, but remember that filming these vids are all just about having some fun and enjoying your talents. Go get creative!
Topics
Ref: 1bff1836-76ea-4c64-b4a8-adbe008da0b1





Comments & Feedback
Share your opinion
Emoji cheatsheet Formatting Comment guidelines