A Breakdown of How I Went Overseas Alone at 19 and Didn’t Come Back Broke
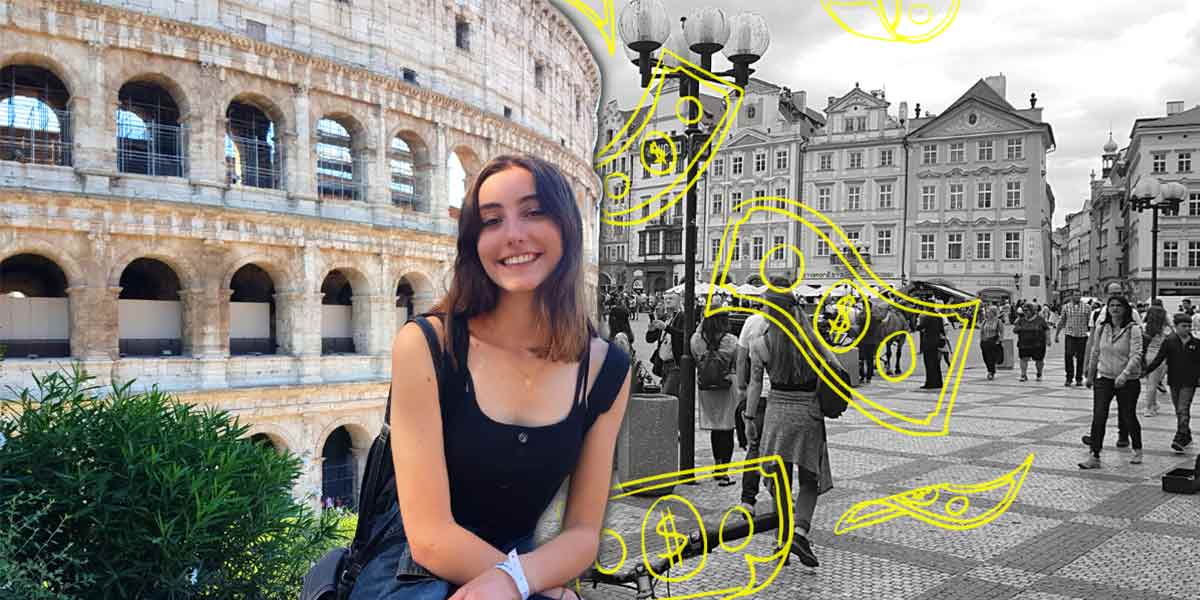
From working at a supermarket to travelling Europe solo.
At the start of 2019 I was a full-time uni student and part-time checkout chick. By July of that year, I’d canoed across a lake in the Swiss mountains, danced in the nightclubs of Berlin, seen Auschwitz with my own eyes, gone on a river cruise in Budapest, floated across Venetian canals and met people from all walks of life along the way.
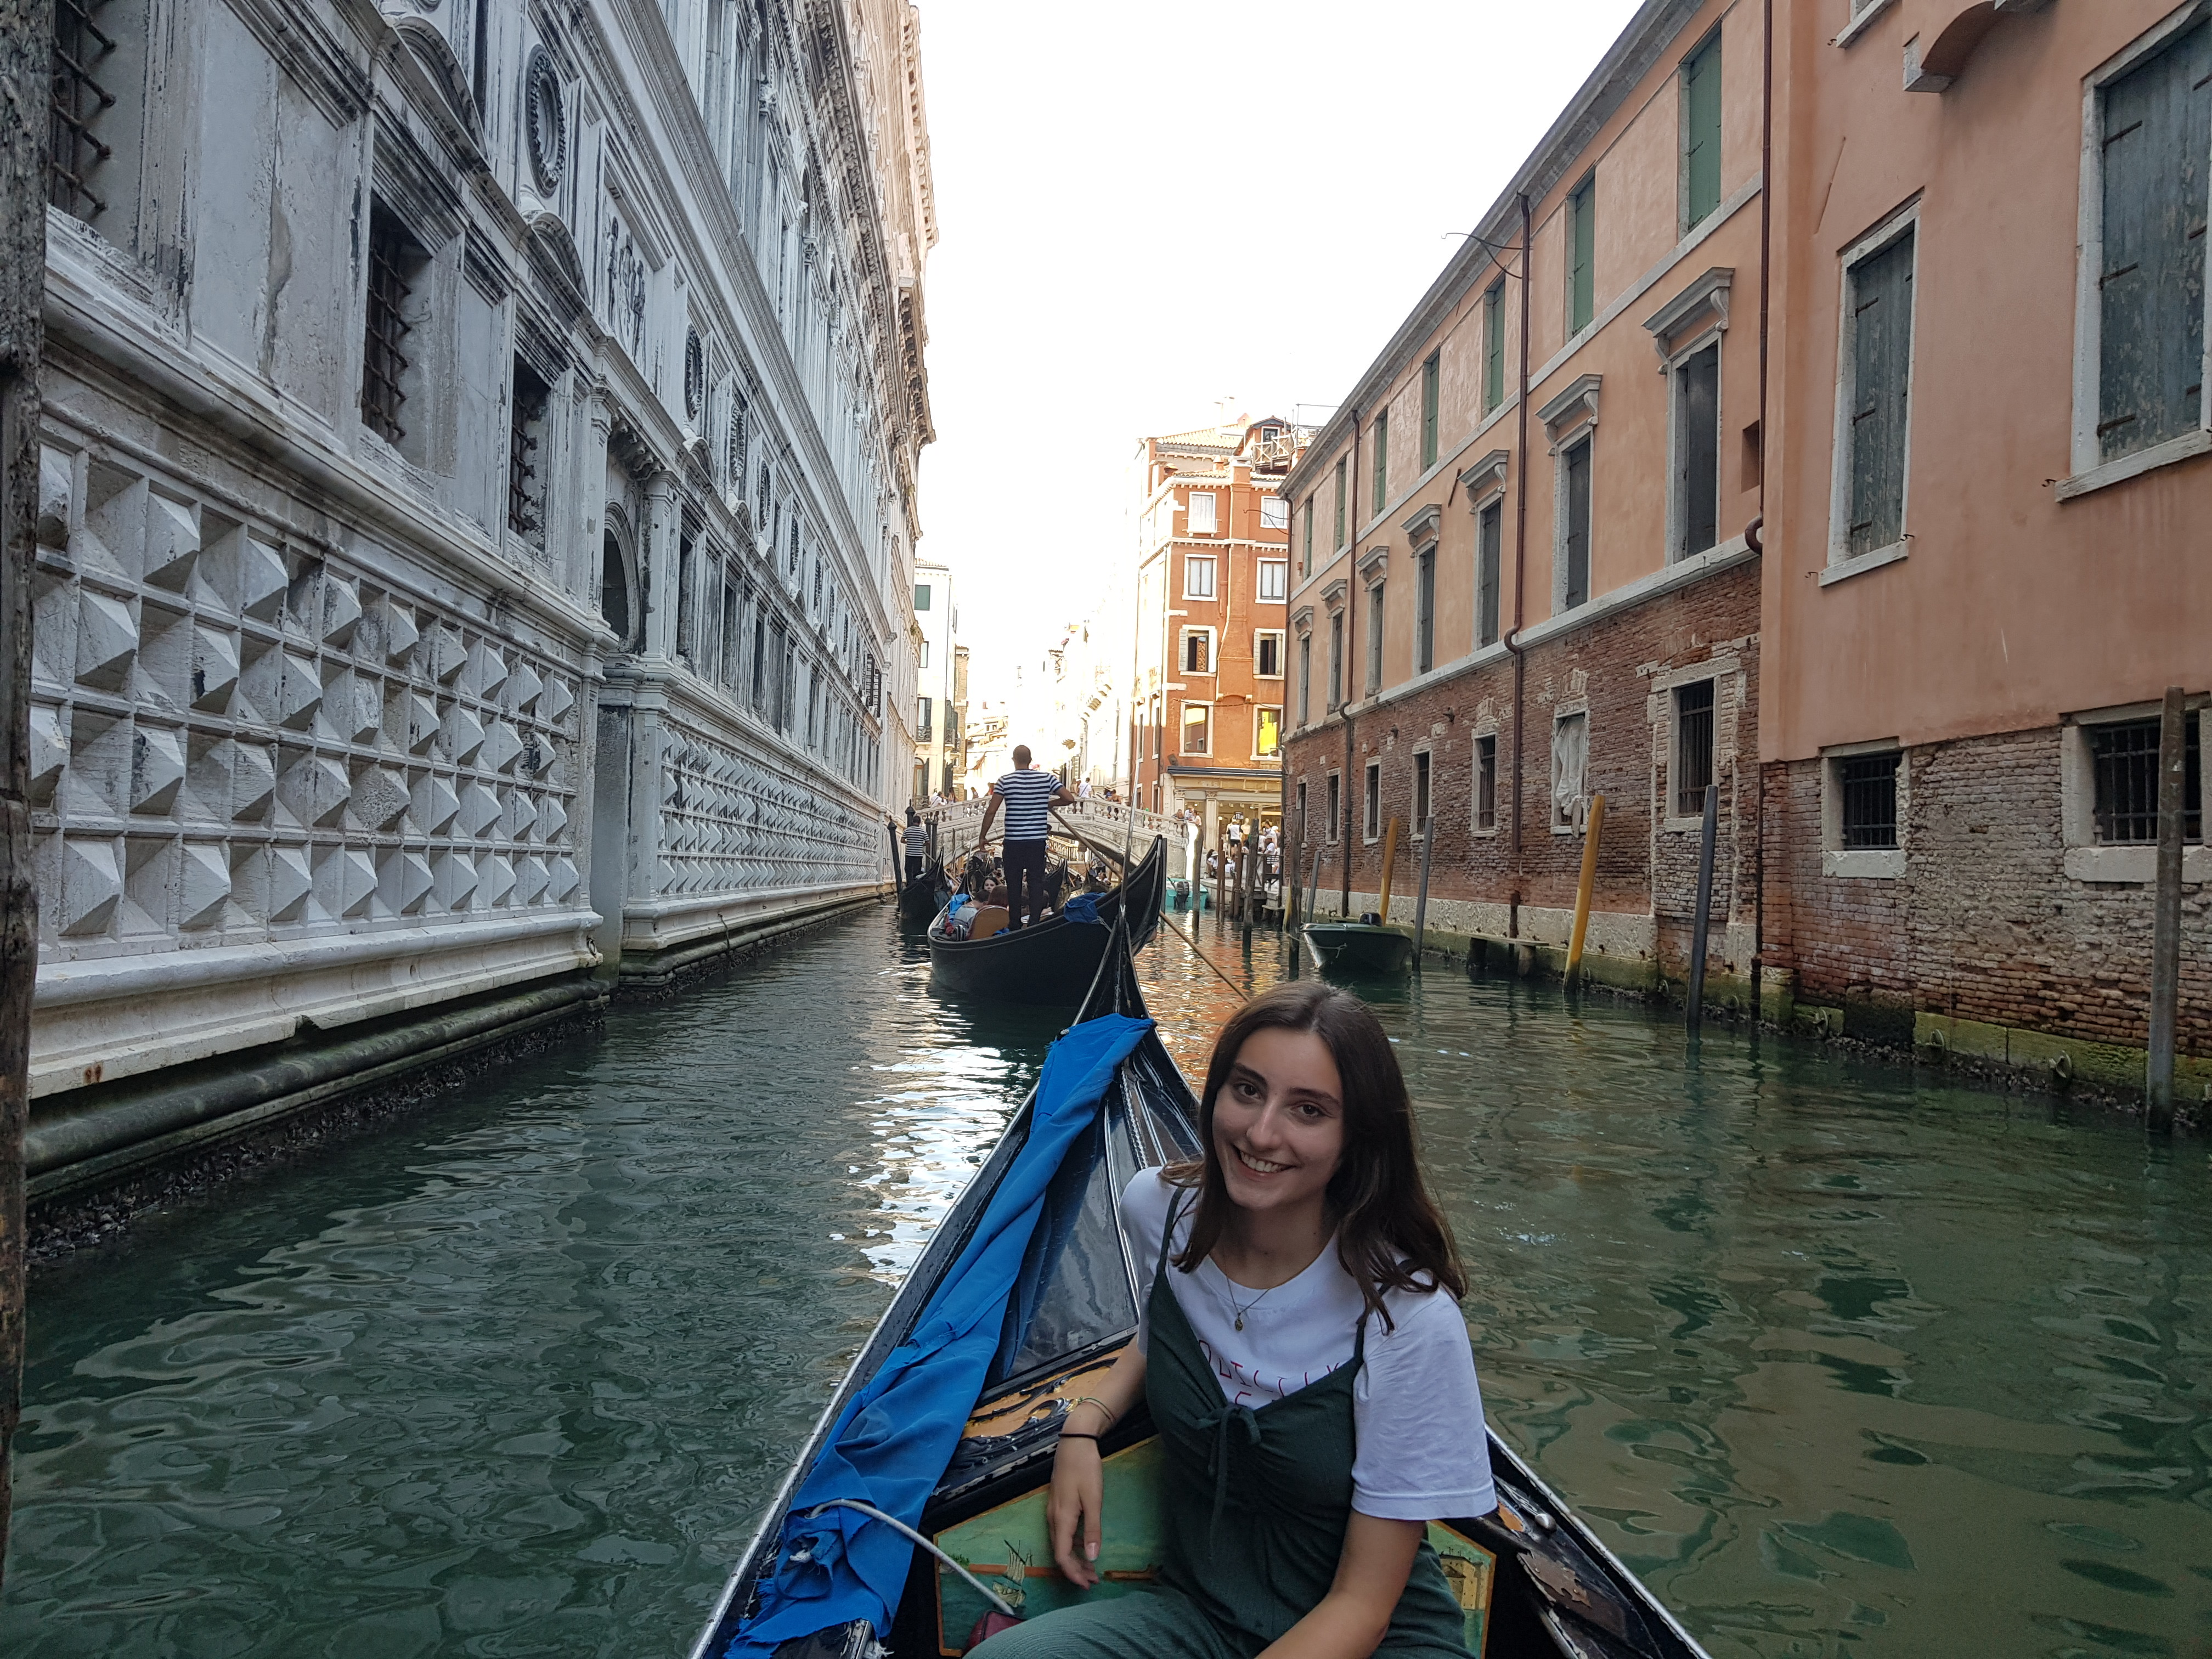 On a Venetian gondola.
The top two complaints I hear from friends when I ask them if they’d ever travel abroad by themselves are: “I don’t have enough money” and “I could never go alone”.
I tell them: no, but you will, and yes, you can.
Here’s how I prepared and budgeted for my six-week stint across Europe, which included study abroad and a whirlwind Contiki tour.
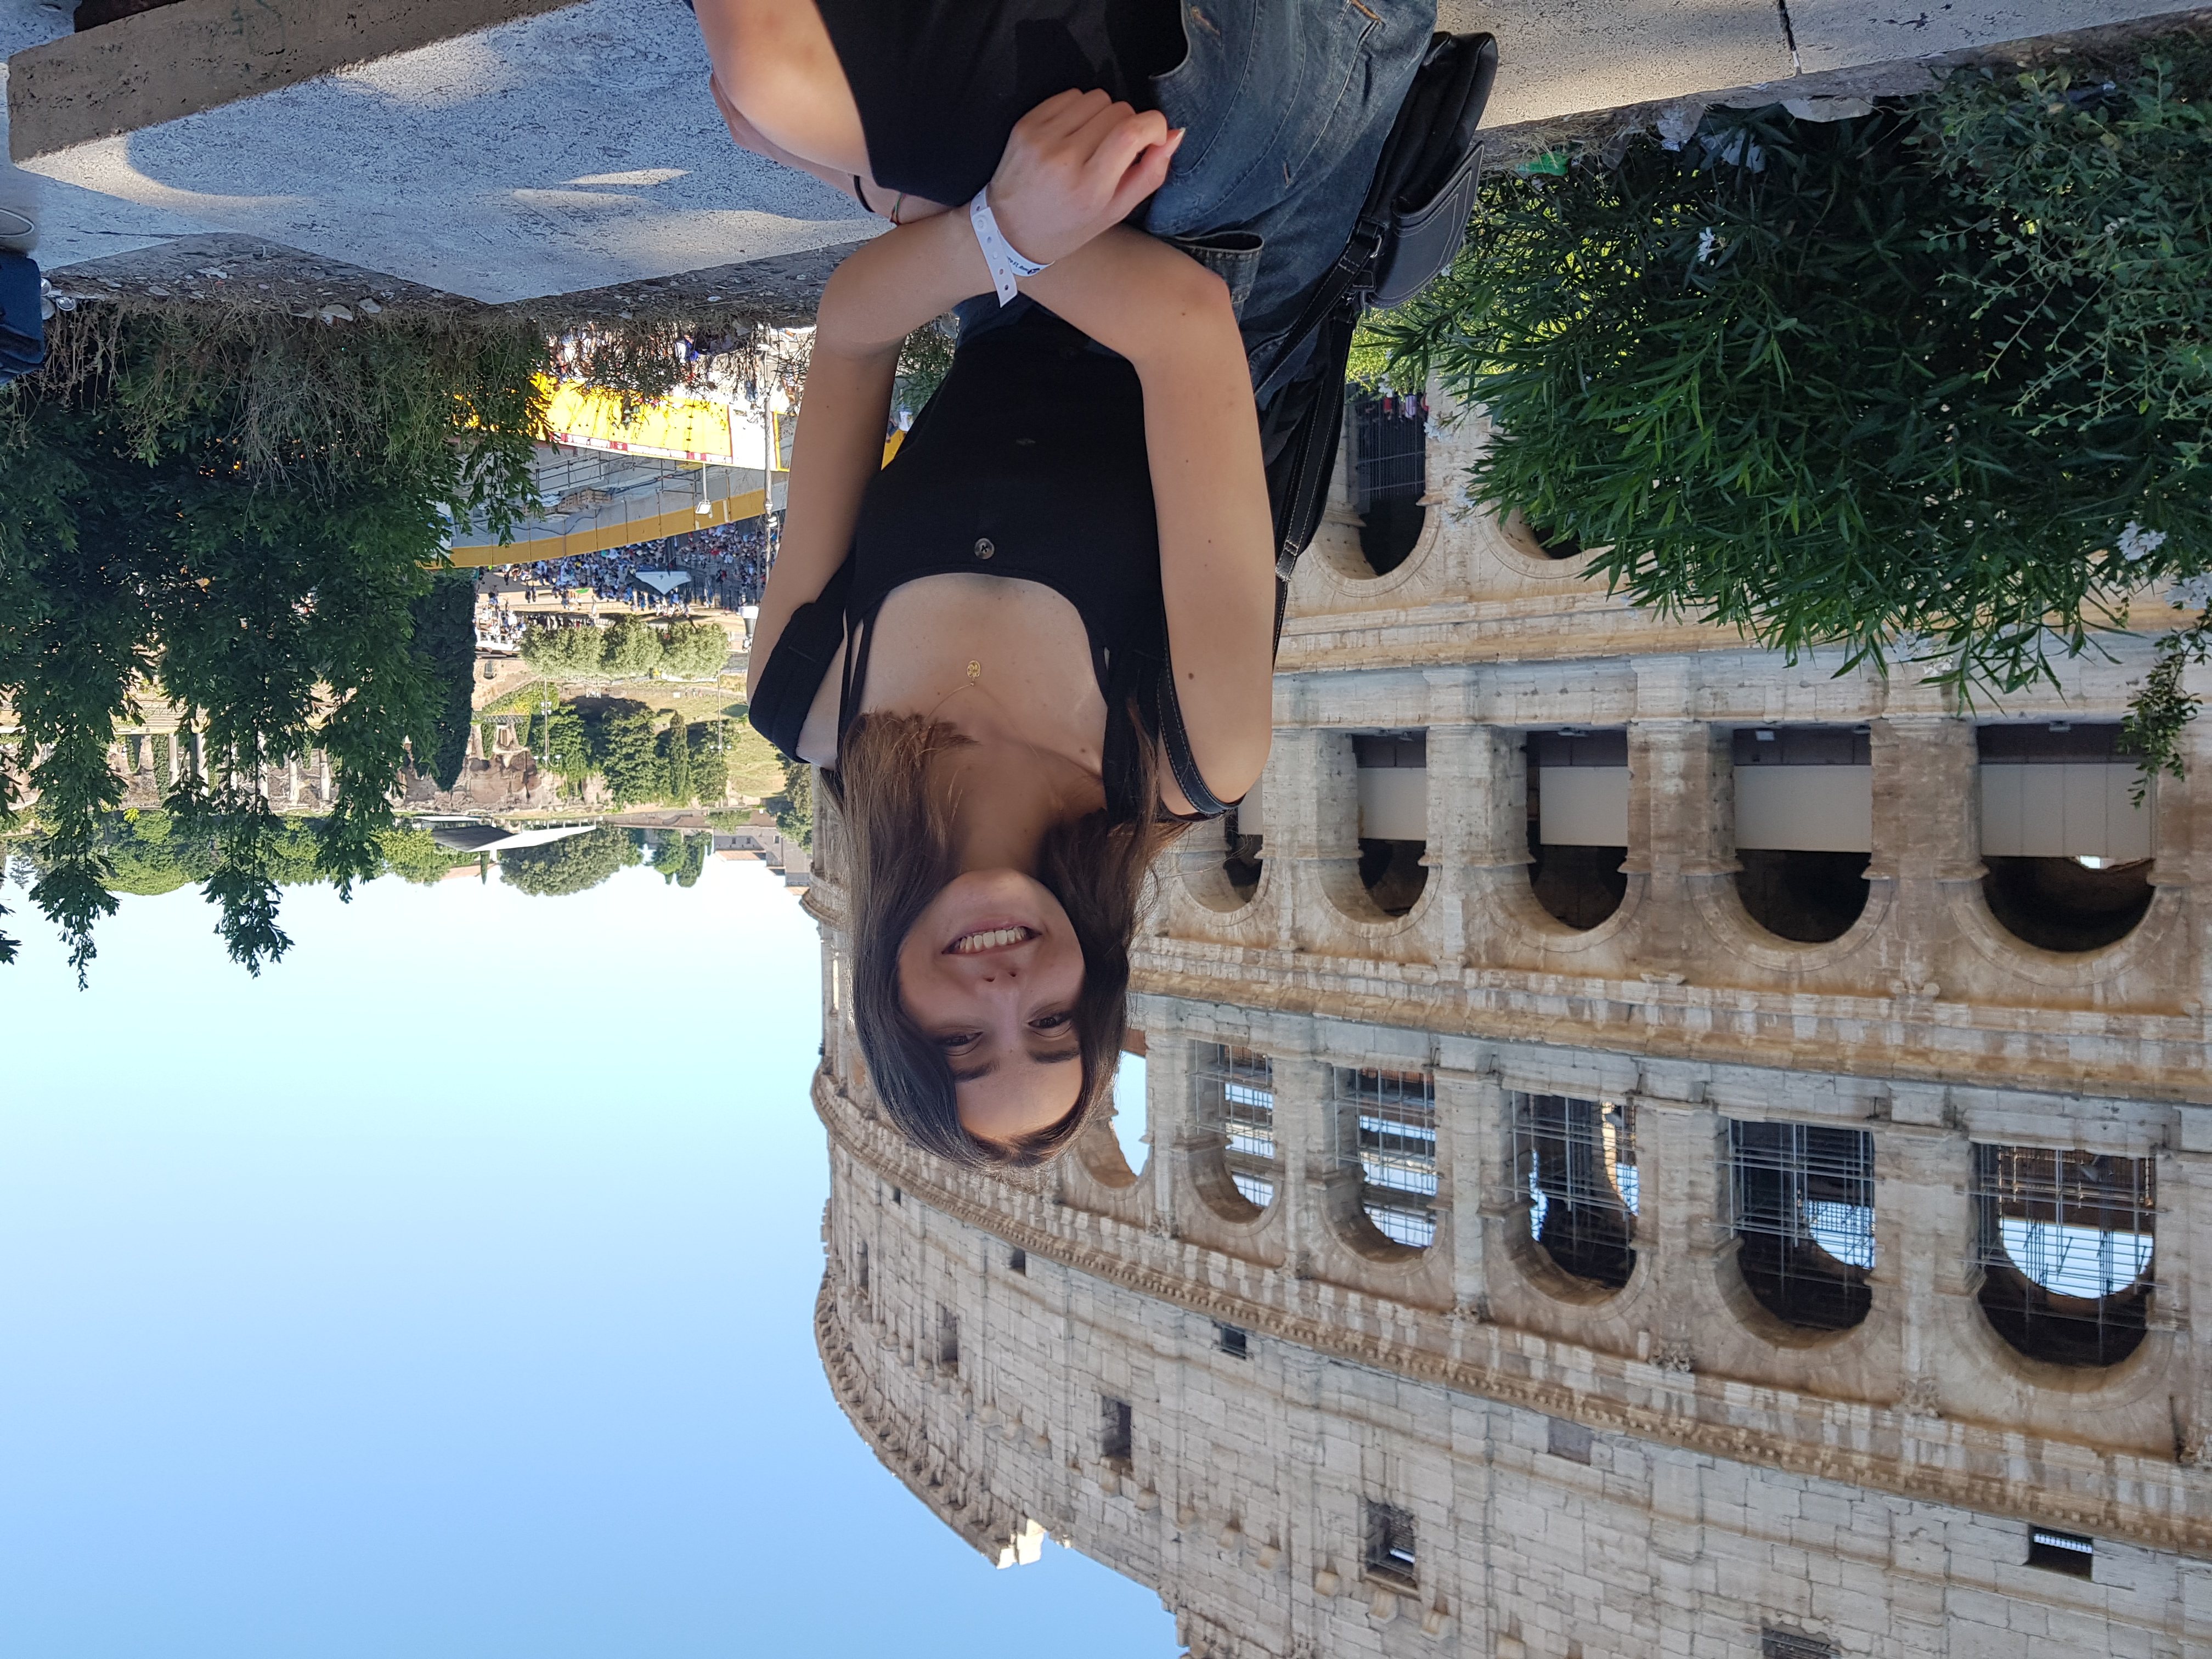 The Coloseum, Rome, Italy.
Before the trip.
I was making $19 an hour as a supermarket customer service supervisor, working up to 35 hours a week. I’d attend uni tutorials during the day, work at night, and then forfeit my entire weekend to get that coin.
I was lucky enough to be living at home with no bills or rent expenses, but that didn’t mean it was easy to save.
I limited leisurely spending on items like new clothes, expensive dinners, Uber rides and festival tickets. After about a year, I had roughly $12,000 in the bank.
For a six-week trip, this sounds like more than enough right? But when you’re dropped into a foreign country, you’re not going to be stingy about experiencing the best it has to offer. Save up as much as you possibly can. Even if you think you already have enough—keep going.
Here are my top tips for allocating where your money goes once you’ve saved it.
- Take advantage of being young. If you can participate in a study program or join a travel group, you’ll access cheaper accommodation, transport, and attractions. So, if you’re a student, look into studying abroad. If you’re not, consider organised group travel like Contiki or Top Deck.
- Factor flights and accommodation into your budget as soon as possible. These are non-negotiables that you know you’ll have to pay and they can subtract up to 30 per cent from your savings—which is kinda yikes, but totally normal.
- Make a list in advance of what attractions and experiences you definitely want to do. Exploring the pyramids in Egypt is probably a must, so look up how much that will set you back and factor it in.
During the trip.
The key is having enough savings once you arrive to make spending stress-free. You don’t want to debate over whether to go on a gondola ride because you’ve only got 50 euro left and 10 days of the trip remaining.
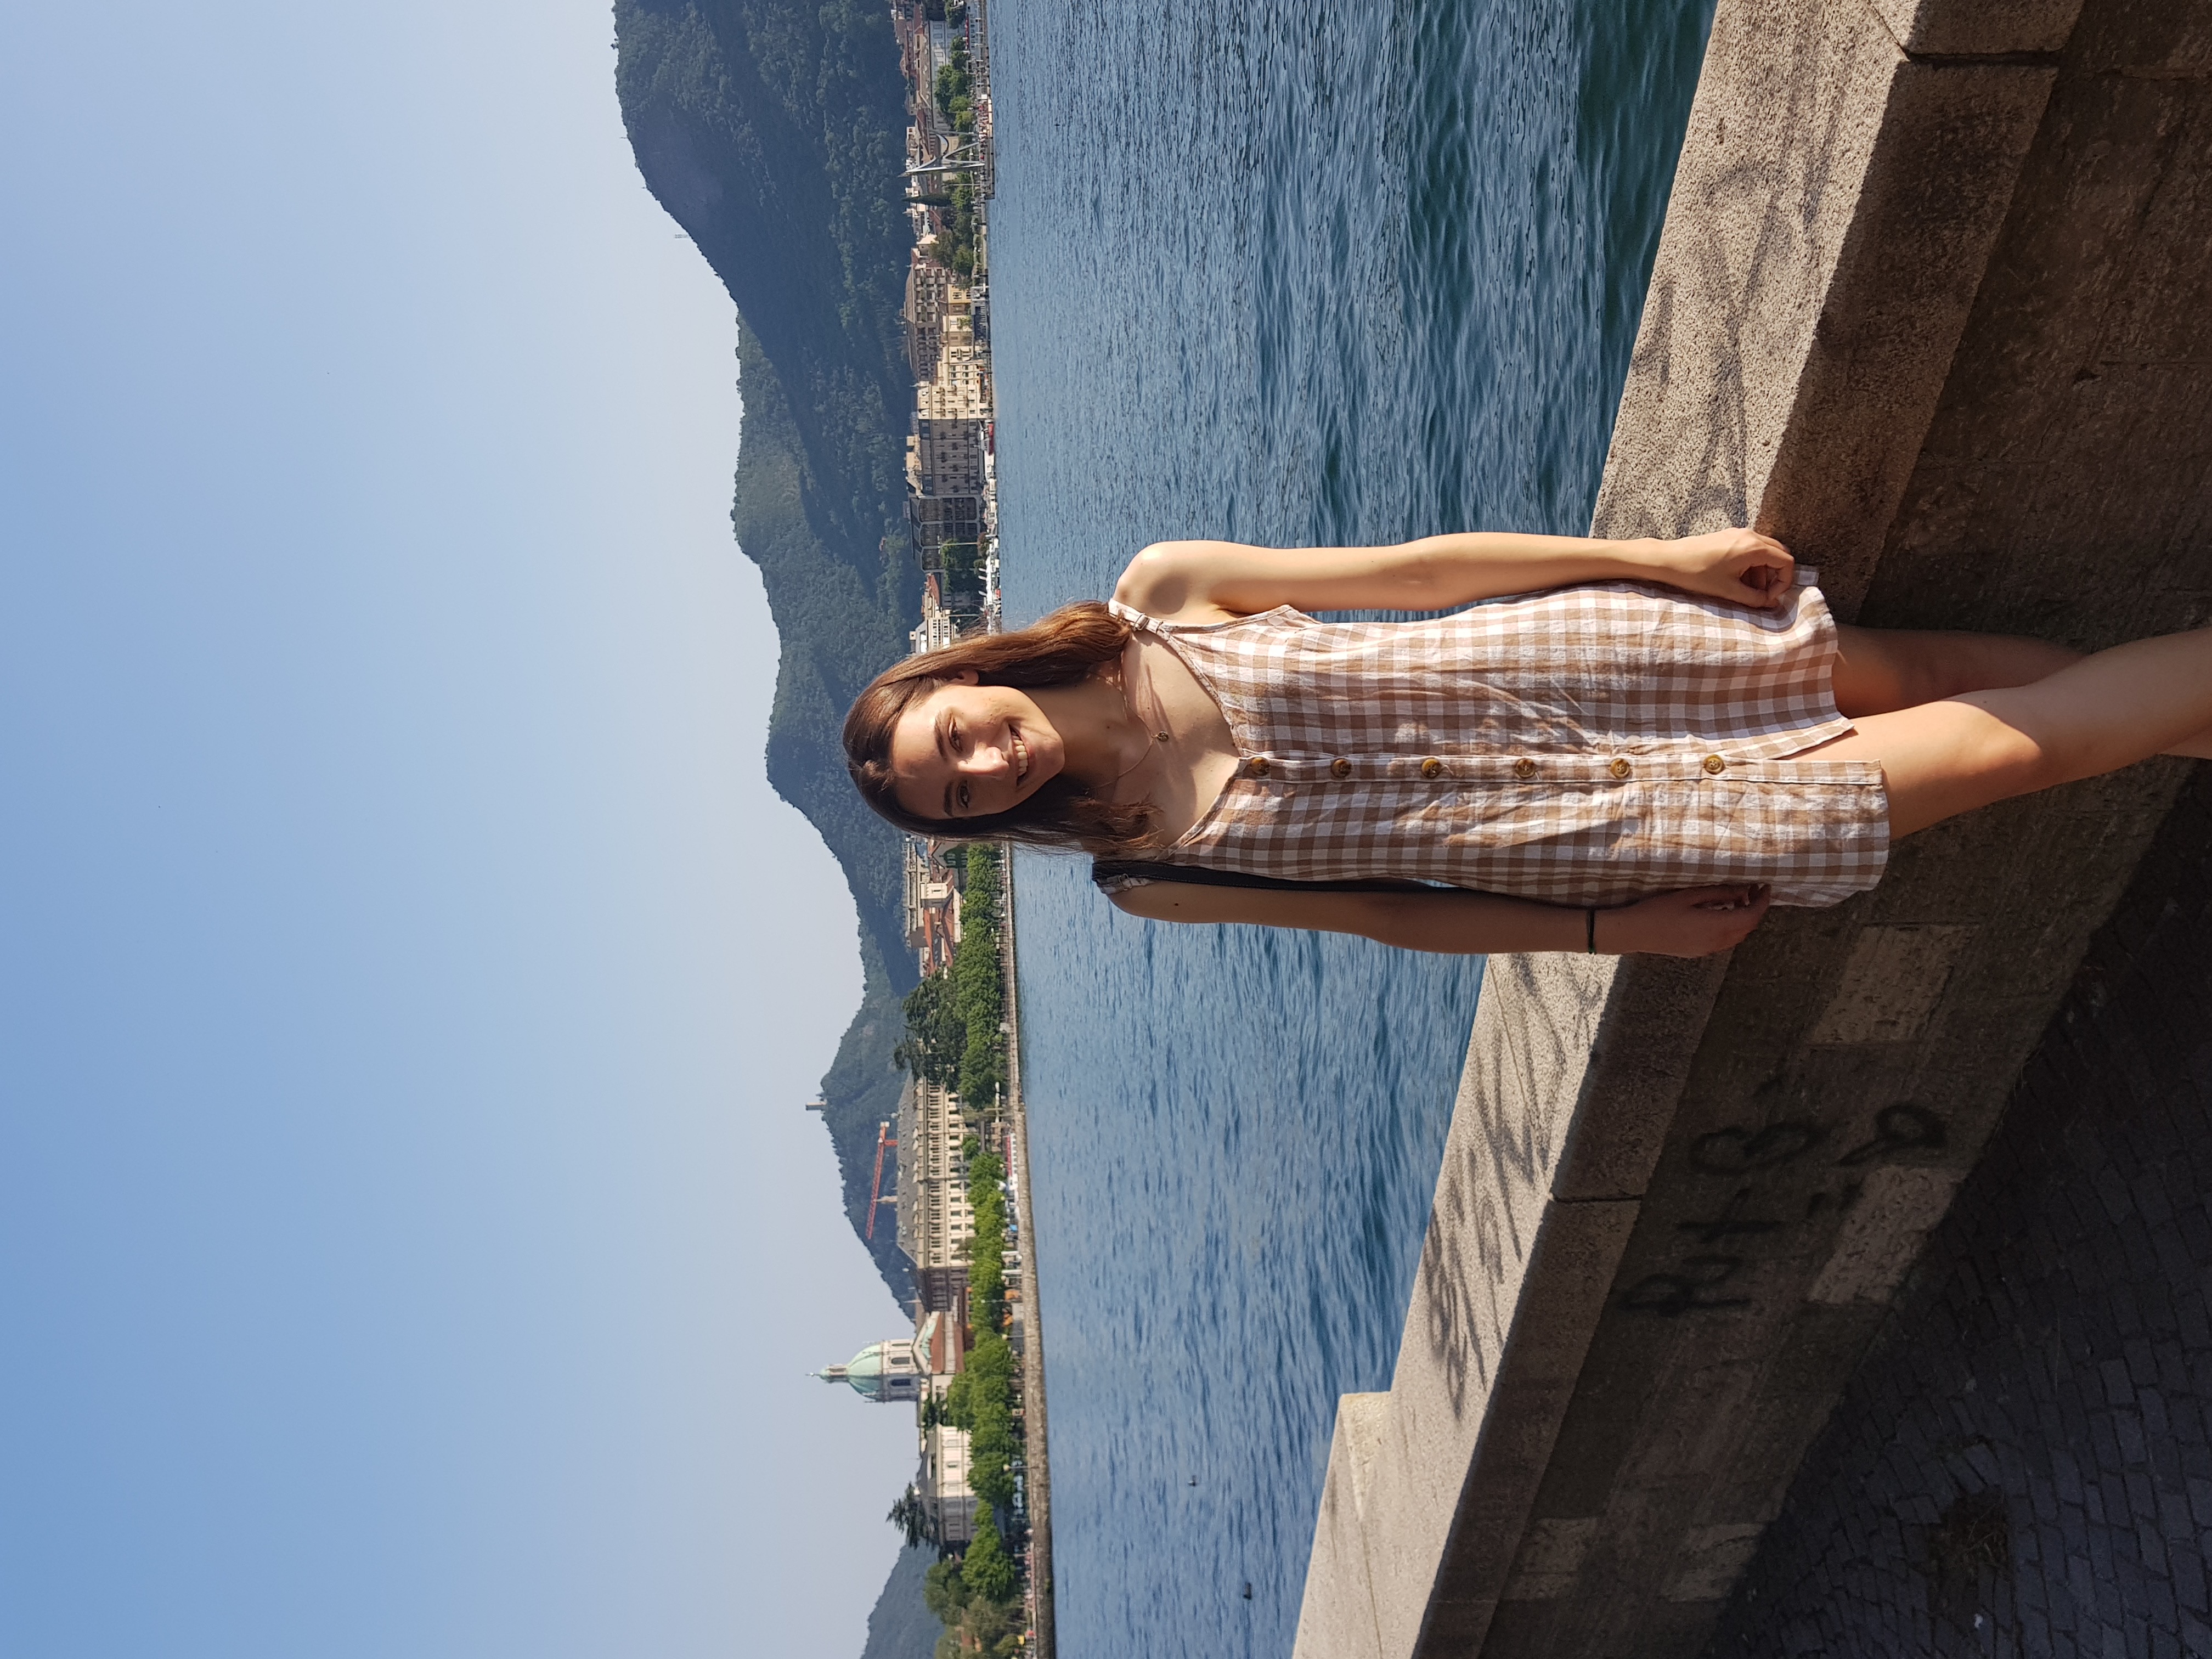 Lake Como, Italy.
Here’s how to stay savvy while over there.
- Keep in mind the categories you’re willing to spend in. For me, I’m super into food and want to taste the cuisine of whatever culture I’m in, which takes precedence over buying designer clothes. Make small but instinctual mental decisions every time you pay for something—and trust me, most of the time it’s the experiences you’ll want, not the products.
- Always utilise public transport and walking. If you’re going to be in one place for even a couple of days, get a public transport card. Walk to a museum instead of catching a taxi. You’ll see more of the place that way, anyway.
- Make the most of your connections. Meeting people can allow you to stay with them, cook with them, and generally share things with them. Group travel is usually always cheaper.
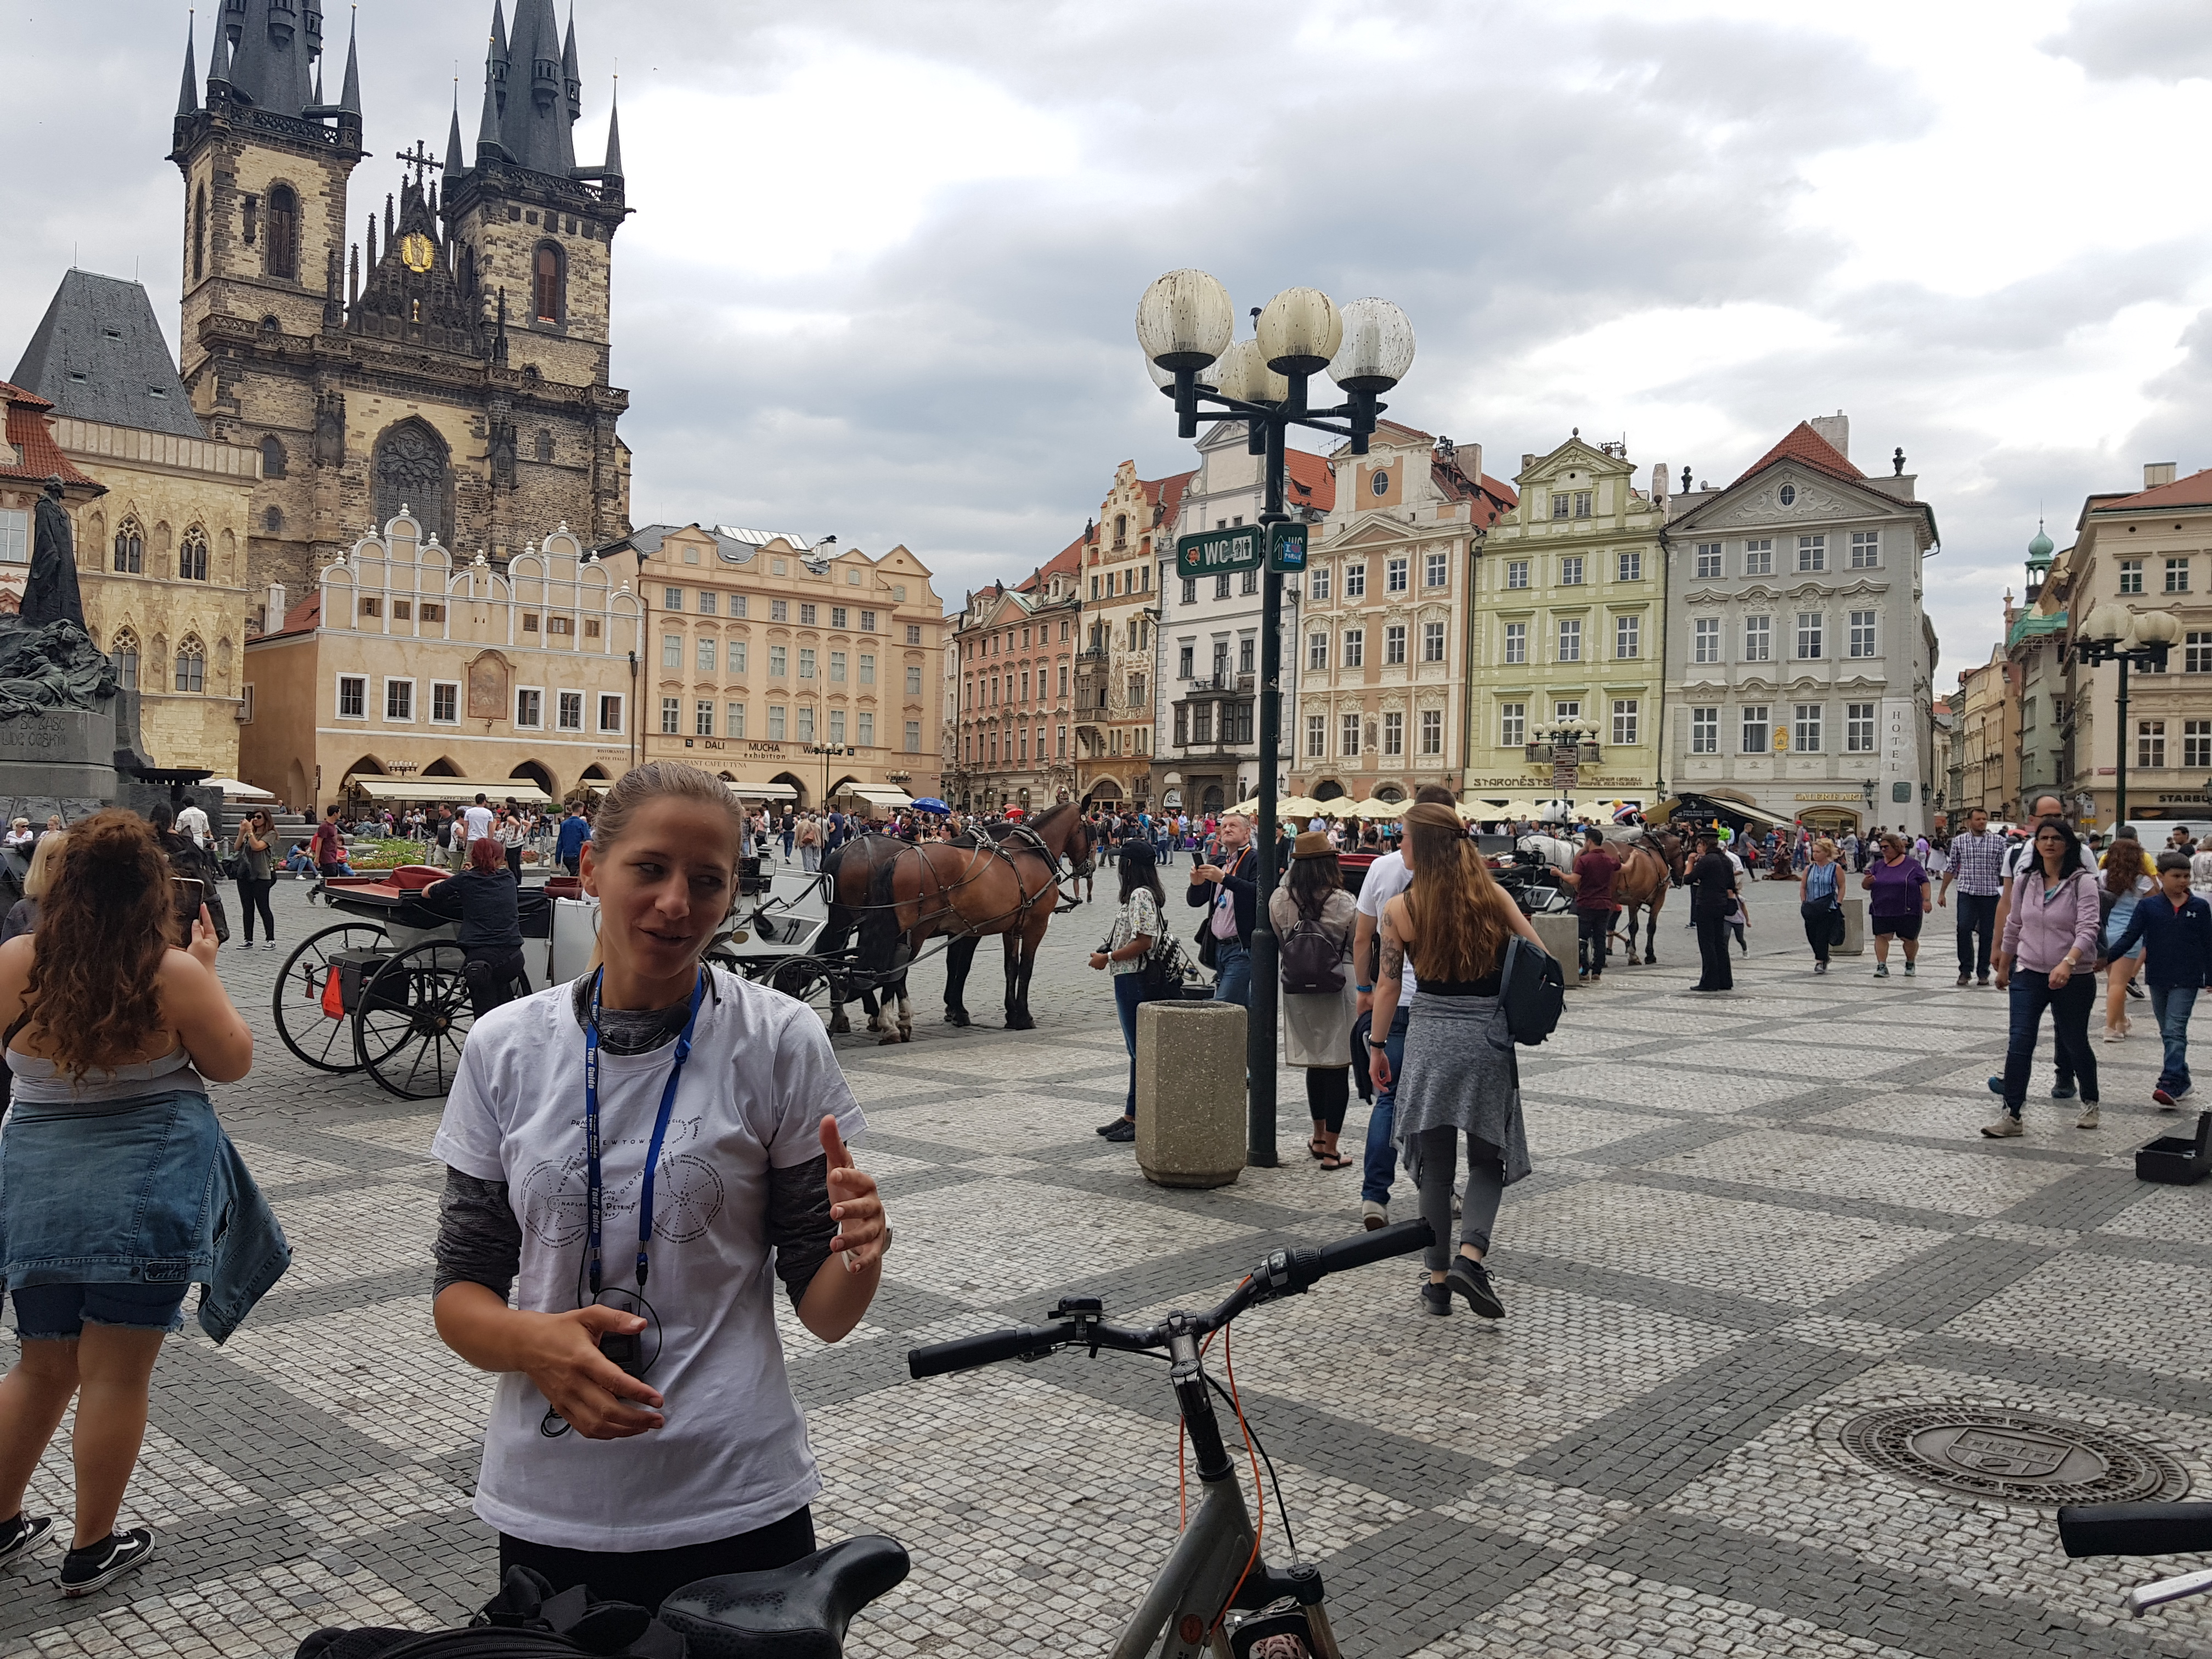 Prague, Czech Republic.
After the trip.
I didn’t come back with my pockets full and heavy. But I had money to spare, and certainly wasn’t in debt (don’t ask for money from anyone where you can help it!)
The biggest thing I learnt was that after you’ve been to places you never dreamed of seeing, you never once think about the money you lost doing it.
I wouldn’t trade that trip to be $12k richer.
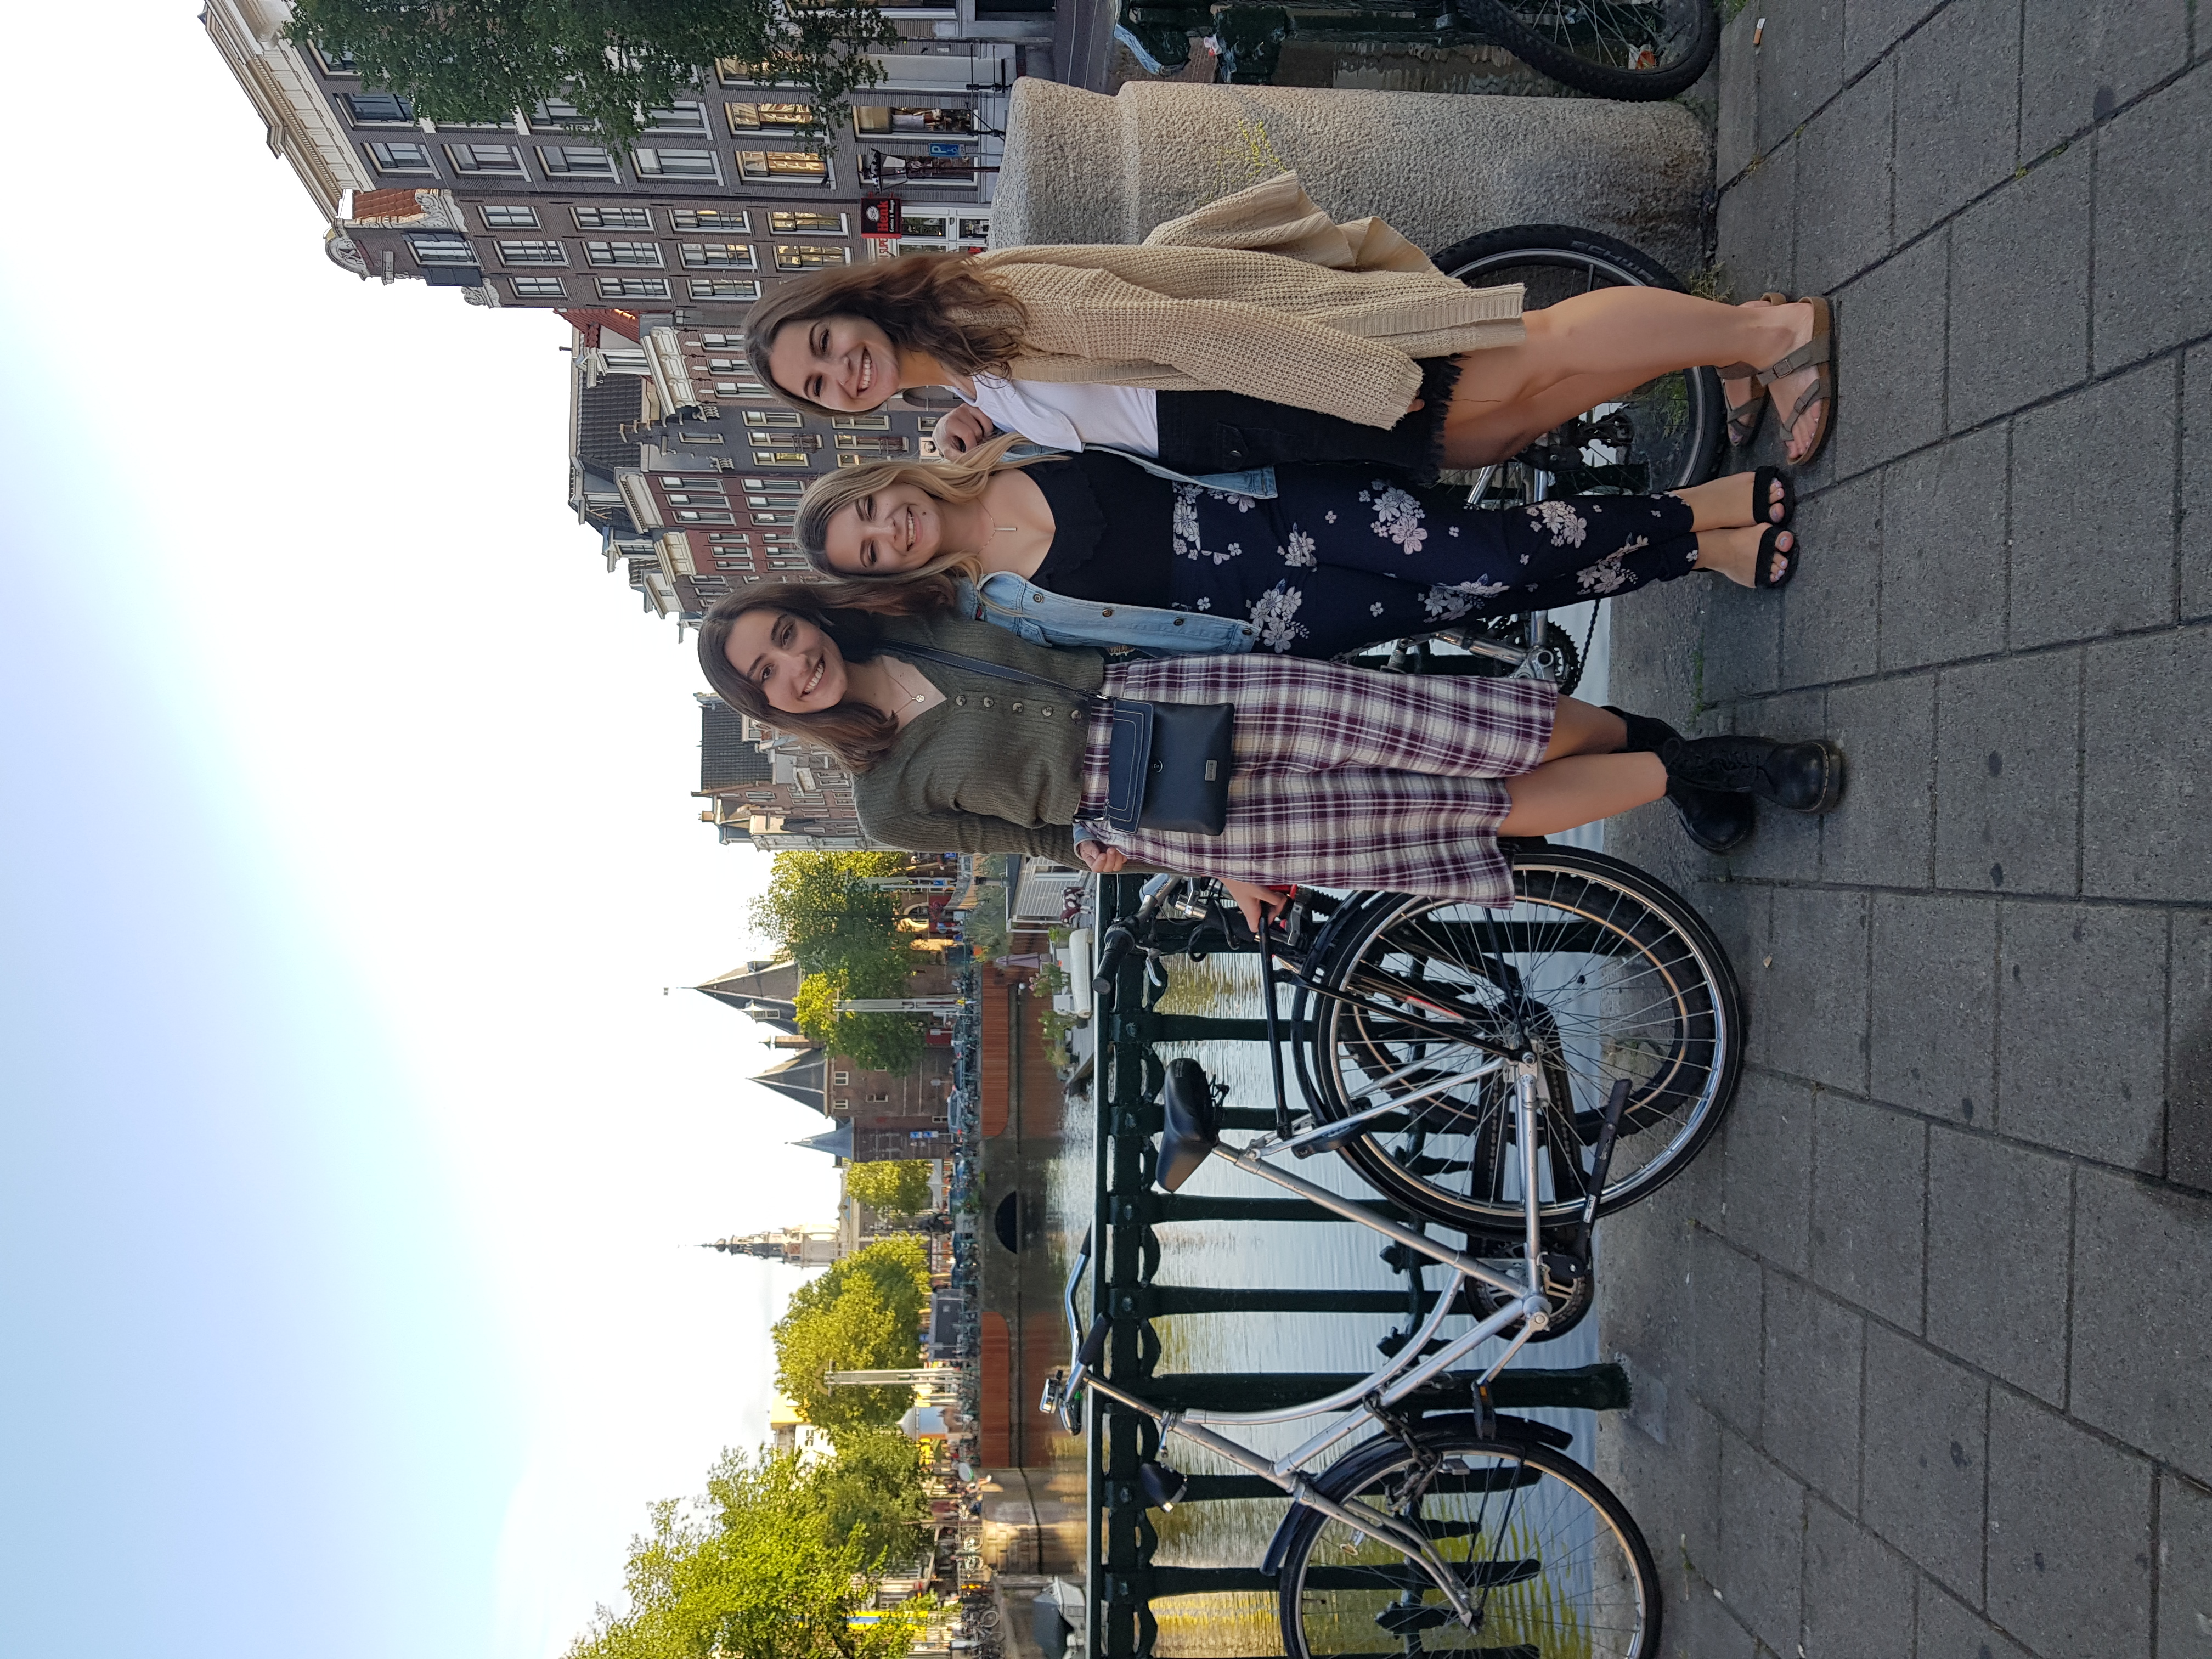 Amsterdam, The Netherlands.
Topics
Ref: f68853f9-97f9-45e0-8641-aec9007d1ad7




Comments & Feedback
Share your opinion
Emoji cheatsheet Formatting Comment guidelines